Heavy Power Cage and Weight Bench Relocation in Ashburn
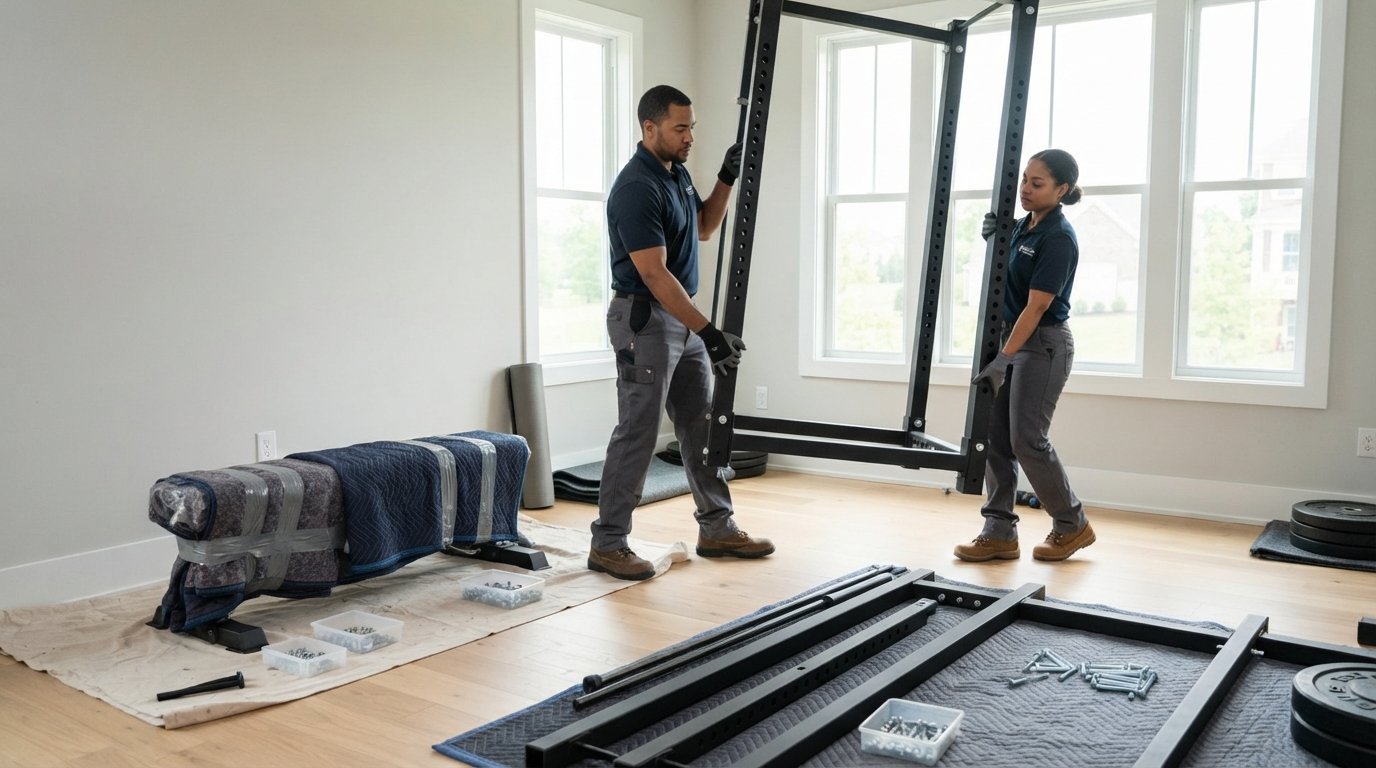
A power cage almost always needs full disassembly before a move. For heavy power cage and weight bench relocation in Ashburn, plan on about 1-1.5 hours to take apart a typical rack, then allow time to protect, transport, and reassemble its parts. Keeping the hardware organized makes setup at the new location easier.
It’s a substantial job: steel uprights and braces can be awkward to carry, and a weight bench adds another bulky piece to handle. The good news is that a clear plan can make the move more manageable. This guide explains when disassembly is needed, how heavy parts are handled, what affects the timeline, and where service and insurance fit into the process.
You’ll also see what to consider before moving day, from labeling rack hardware to preparing the new workout area for reassembly. With the key steps in view, you can plan the move with less guesswork and a safer path from teardown to setup.
Key Takeaways
- Map the rack’s connections before teardown, and keep removed hardware labeled so reassembly is more straightforward.
- Power racks can weigh 300-700+ pounds, so plan how each steel component will be protected and carried.
- A typical power rack move takes 3-5 hours, with rack design, access, transport, and setup all affecting the schedule.
- Compare the equipment-specific handling needs with the moving work required, including reassembly and floor or wall protection.
- Understand the service scope and where insurance applies as you plan the move and installation.
Disassembly and hardware labeling
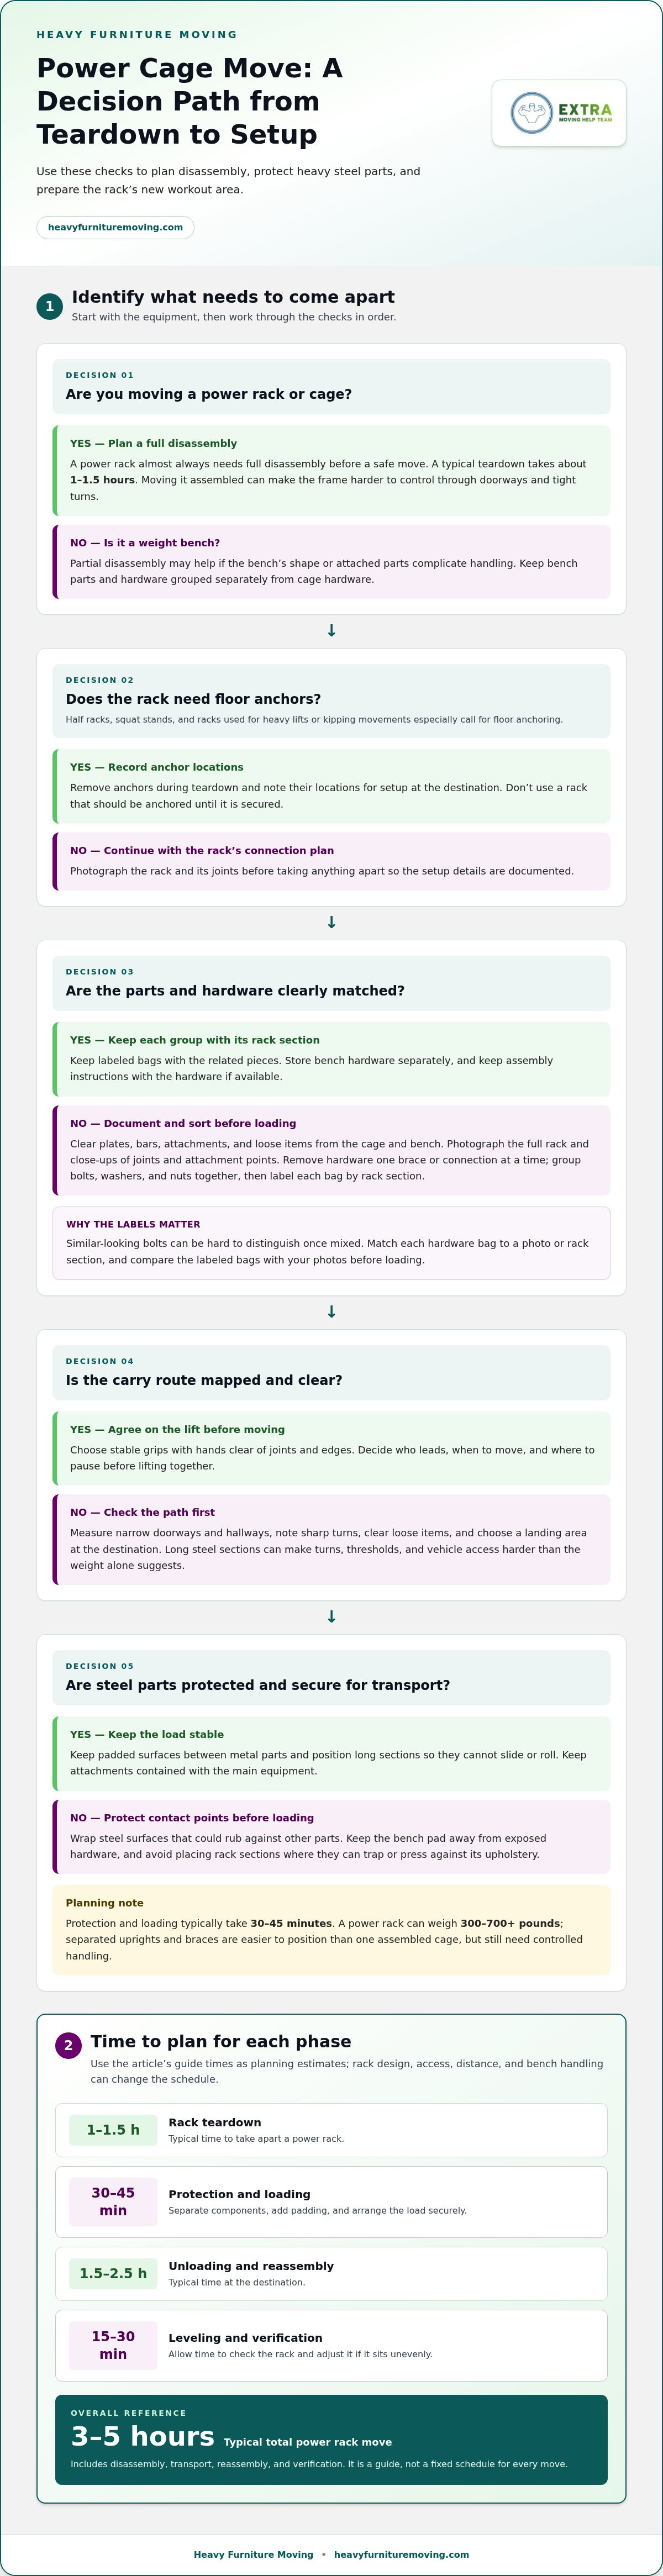
A power rack almost always needs full disassembly before a safe move. A typical teardown takes about 1-1.5 hours, depending on the rack’s design and connections. Moving it assembled can make the frame harder to control through doorways and tight turns. A weight bench may also need partial disassembly if its shape or attached parts complicate handling.
Start by identifying how the rack fits together. A typical power cage has four upright posts connected by horizontal and diagonal braces. Full cages commonly use 3×3-inch or 2×3-inch upright systems. Commercial racks may have 6-post or 8-post layouts, adding more connections to document. Take clear photos of each side before removing hardware. Include close views of joints, brackets, and any attached accessories.
Work in a steady sequence so every piece has a place in the setup plan:
- Clear the frame. Remove plates, bars, attachments, and loose items from the cage and bench. Set each accessory aside by its location.
- Photograph connections. Capture the full rack, then take close-up images of brace joints and attachment points. Save images in the order you’ll need them later.
- Remove hardware by section. Take apart one brace or connection at a time. Put its bolts, washers, and nuts together rather than mixing hardware from separate joints.
- Label each group. Use plain labels such as “left-side brace” or “upper crossbar.” Match each bag to a photo or rack section.
- Secure the small parts. Close bags and keep them together with the related rack pieces. Store any bench hardware separately from cage hardware.
Label parts that look alike. Bolts from a brace connection can be hard to distinguish from hardware for the pull-up bar once mixed together. Photograph each connection and label its hardware bag to keep the parts matched. Keep the assembly instructions with the labeled hardware, if available.
Check the floor anchors before moving the frame. Half racks, squat stands, and racks used for heavy lifts or kipping movements especially call for floor anchoring for safety. Remove anchors during teardown and note their locations for setup at the destination. Don’t use a rack that should be anchored until it is secured.
Keep the weight bench’s parts and hardware grouped by component. A removable pad, frame section, or leg may have its own fasteners, so store those pieces separately instead of mixing everything together. Before loading, compare the labeled bags with your photos. This final check can catch a missing connection while the rack is still accessible.
Heavy steel component transport
A power rack can weigh 300-700+ pounds, with some frames built from 11-gauge steel. Once separated, its uprights and braces are easier to position than one assembled cage, but each piece still needs controlled handling. Treat long steel sections as awkward loads: their length can make turns, thresholds, and vehicle access harder than the weight alone suggests.
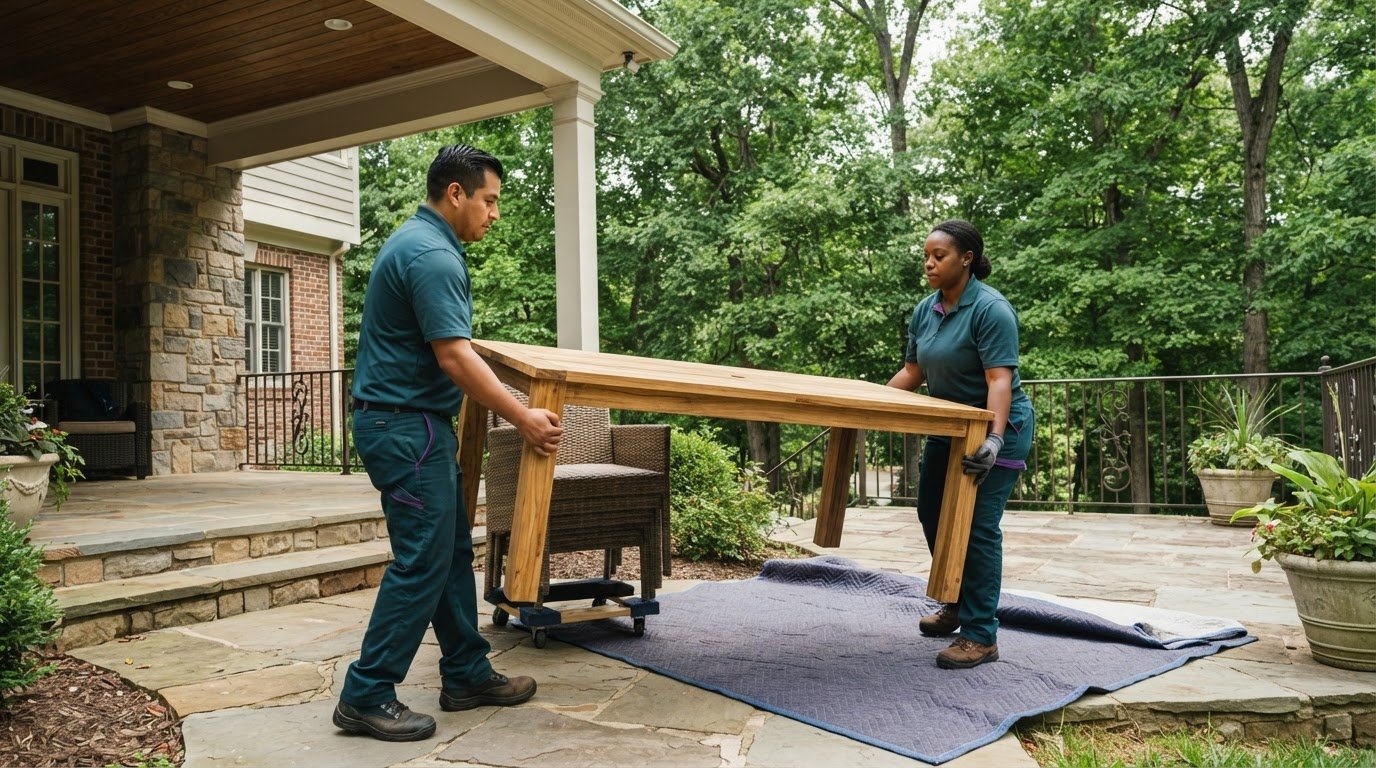
Plan the route before lifting. Measure narrow doorways and hallways, note sharp turns, and clear loose items from the path. Decide where each rack section will be set down at the destination. A clear route means fewer stops with a long upright, while a designated landing area keeps parts out of the way.
For each section, use a deliberate handling sequence:
- Choose stable grips. Hold an upright or brace where hands can stay clear of joints and edges.
- Coordinate the lift. Agree on who leads, when to move, and where to pause before lifting together.
- Protect contact points. Wrap steel surfaces that could rub against other parts during carrying or transport.
- Load with control. Position long sections so they cannot slide or roll as the vehicle moves.
- Keep attachments contained. Secure smaller rack pieces and bench components so they stay with the main equipment.
Protection and loading typically take 30-45 minutes. Use that time to separate components, add padding, and arrange the load so heavy pieces remain stable. For example, a loose brace should not be left where it can shift against an upright. Keep padded surfaces between metal parts, and avoid stacking items in a way that puts pressure on delicate bench upholstery.
Plan separately for the weight bench. Its frame may be bulky even if it weighs less than the rack, and its pad can be marked by friction or sharp steel. Carry the frame with a clear view of the route, and keep the pad away from exposed hardware. In the vehicle, place the bench where rack sections won’t trap it.
At the new location, unload one component at a time and keep the rack parts together. Before reassembly, check the floor area and clear the path between the vehicle and setup point. For a demanding carry involving heavy steel and a bench, a heavy lifting moving service can help manage the equipment’s transport.
Moving and installation timelines
A typical power rack move takes 3-5 hours total, including disassembly, transport, reassembly, and verification. The actual schedule depends on the rack’s configuration, access at both locations, and the distance between them. A weight bench adds handling and setup time, especially if its frame or pad needs separate positioning.
At the destination, unloading and reassembly typically take 1.5-2.5 hours. Allow another 15-30 minutes for leveling and verification. Those steps matter: a rack that sits unevenly may need adjustment before it’s ready for use. Keep the planned setup area clear so parts can move from the vehicle directly to the assembly space.
That example is a guide, not a fixed schedule for every Ashburn move. A different rack layout, a longer carry, stairs, or limited access can change the work involved.
When comparing quotes for a power cage and weight bench, compare the same scope: disassembly, transport, reassembly, leveling, and a final check. Check how each plan accounts for access, equipment configuration, and the bench so you’re comparing like with like.
For an Ashburn apartment or shared building, ask the property manager about moving rules, elevator reservations, and access requirements. These details can affect the moving window and the route for carrying equipment.
The cost of renting a truck and equipment near Ashburn depends on the vehicle, rental period, distance, and handling equipment needed. Compare those expenses with the work involved, including loading, transport, unloading, and setup. The rental price alone doesn’t reflect the full effort or schedule.
Before setting a moving window, outline each stage: preparation, travel, unloading, assembly, and the final rack check. A clear sequence also helps identify possible delays:
- Before moving: Clear the route and confirm building access.
- During transport: Allow time for loading, travel, and unloading.
- At setup: Reassemble, level, and verify the rack before use.
Use those steps to build a realistic schedule for the equipment and both locations. Don’t plan around travel time alone.
Specialty gym equipment movers versus general movers in Ashburn
The key difference is the job plan, not the label on a moving service. A power cage needs careful handling from teardown through placement and reassembly. A weight bench also has a frame, padded surfaces, and parts that need separate protection. In Ashburn, compare the work included rather than assuming every mover covers each step.
A gym-equipment moving plan should account for the rack’s construction, detachable parts, access route, and final setup. A multi-post cage with separate braces, for example, needs an organized component plan. Check whether the proposed work includes disassembly, organized hardware, protected transport, reassembly, and a final check. These specifics show whether the plan fits your equipment.
General movers may suit a move that includes household belongings alongside a disassembled rack and bench. A broader household move can coordinate furniture and equipment together. The key is to confirm that the plan addresses rack-specific handling rather than treating every steel piece like an ordinary box or furniture panel.
Use these comparison points when reviewing a moving plan:
- Equipment scope: Does it name the power cage and weight bench, with their separate handling needs?
- Disassembly and setup: Does it describe how rack connections, hardware, and reassembly are handled?
- Access: Does the plan account for stairs, narrow turns, building entrances, and the setup location?
- Protection: Does it explain how steel surfaces, bench padding, floors, and walls are protected?
- Insurance: Does the written information explain what coverage applies to the equipment during handling and transport?
Review insurance terms separately. Read the written terms for the power cage and bench, including when coverage applies and any exclusions or limits. A general statement about coverage may not explain how a particular piece of gym equipment is treated. Keep the relevant terms with the move details so the covered property and handling period are clear.
Imagine moving from an Ashburn home with a tight basement stairway. The rack is already disassembled, but its long uprights still need careful turns, and the bench pad needs protection. A useful plan identifies the route, handling order, and destination setup area. That detail matters more than a broad label such as “specialty” or “general.”
Choose a plan that clearly accounts for the equipment and access at both locations. If the move includes other household items, consider how they fit into the same schedule. If the rack and bench are the main challenge, prioritize a written scope covering handling, transport, setup, and applicable insurance terms.
How to move a power cage safely without damaging floors or walls
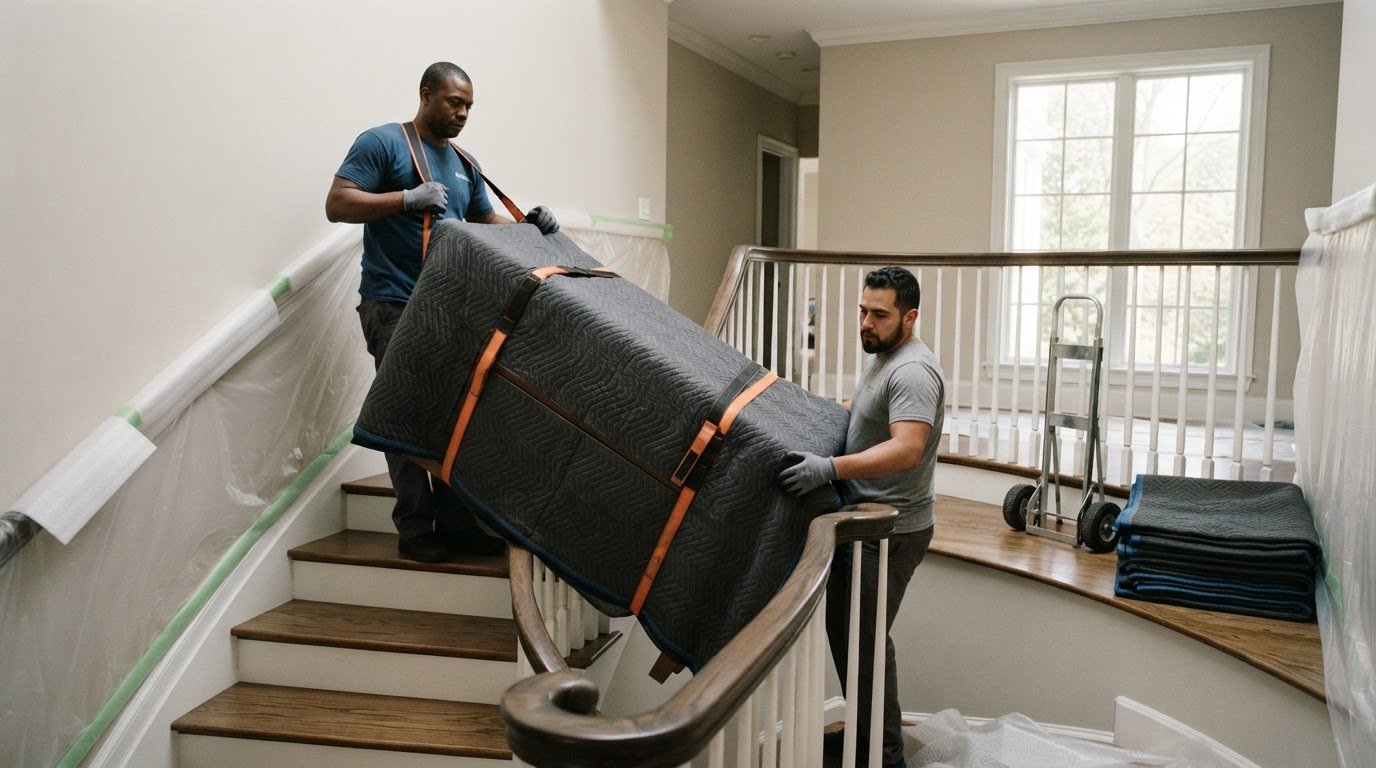
Protect the route before moving any rack section. Clear shoes, weights, and small furniture from hallways, then inspect every doorway and turn. Even a disassembled long upright can hit drywall. Measure narrow passages and compare them with each component’s length and carrying position. Choose the route with fewer tight turns, not simply the shortest one.
Cover the floor where steel parts will pass or rest. Use clean moving blankets or sturdy coverings suited to the surface, and secure them so they don’t bunch underfoot. Grit trapped beneath a blanket can scratch hardwood, while a metal foot or bracket can snag carpet. Keep fasteners and tools in a container, not loose on the floor.
Protect corners, door frames, and stair landings. Place padding where a carried brace might make contact, and keep the load away from painted surfaces as it turns. At a basement doorway, for example, pause, reset your grip, and guide the end through once the path is clear. Don’t drag steel across a threshold or floor.
Use a deliberate carry plan for each component:
- Clear and cover. Remove obstacles and lay protection along the full route.
- Check the path. Open doors, identify corners, and confirm the destination has room for a controlled set-down.
- Coordinate movement. Agree who leads and where to pause before lifting the rack piece.
- Carry without scraping. Keep steel parts stable and lift them over thresholds instead of sliding them.
- Inspect as you go. Stop if padding shifts or a component approaches a wall, then correct the route.
Handle the weight bench separately. Keep its frame from rubbing against the cage, and protect the padded surface from hardware and sharp edges. Set it down on a clear, covered area instead of leaning it against a wall. At the new location, leave room for assembly so tools and rack parts stay off exposed flooring.
Anchoring matters after the rack reaches its new position, too. Half racks, squat stands, and racks used for heavy lifts or kipping movements especially call for floor anchoring for safety. Choose the final location before assembly, and clear the floor where the rack will stand. Don’t move an assembled rack across finished flooring to fix poor placement.
For a power cage and bench that need careful carrying through a home, get help moving heavy equipment and reduce the risk of scuffed floors, marked walls, or damaged equipment.
Heavy Furniture Moving: Movers Near Me
Heavy Furniture Moving handles exercise equipment, including power cages and weight benches. Its Exercise Equipment Moving service can help with lifting and transport to the new setup area. For a move that also includes household items, Movers Near Me can support the broader relocation.
Share what equipment you’re moving and the tasks you need help with, such as lifting or moving items within the home. This helps define the scope around your rack, bench, and access route. To plan the move, contact Heavy Furniture Moving or visit heavyfurnituremoving.com.
Set Up Your Move With a Clear Plan
Before arranging heavy power cage and weight bench relocation in Ashburn, gather the key details. Note the equipment’s configuration, whether it has been disassembled, and any parts needing special handling. Describe the route at both locations, including stairs, narrow entrances, and the planned setup area. These details help shape a practical plan for your home and equipment.
Plan for the first workout in the new space, too. Decide where the rack and bench will go, and leave room for assembly and movement around them. A clear destination plan helps prevent last-minute repositioning and gives the move a practical finish line.
Heavy Furniture Moving can help you take the next step. Contact Heavy Furniture Moving to discuss your equipment move and the work you need handled. Get the planning started, and make room for your next training session.
Frequently Asked Questions
Do power racks need to be disassembled for moving?
Yes, power racks almost always need full disassembly for safe moving. A typical cage has four upright posts joined by horizontal and diagonal braces, so carrying it assembled can make tight doorways difficult to navigate. Remove attachments and keep each group of fasteners with its related section. If the rack is anchored, include the anchors in your setup plan. Keep the assembly instructions handy for rebuilding at the destination.
How long does it take to move a power rack?
A typical power rack move takes 3-5 hours, including disassembly, transport, reassembly, and verification. The schedule can shift with the rack’s configuration, the carrying route, and access at each address. For example, stairs or a long distance between the vehicle and setup area add handling steps. Keep the destination space clear before the crew arrives, and account for the bench and any accessories in the moving plan.
Can movers transport a power rack assembled, and what does it cost?
Power racks almost always need full disassembly for safe moving, so plan for the frame to travel in sections. The cost depends on the rack’s configuration, access, distance, and requested work, such as reassembly and bench handling. Heavy Furniture Moving offers hourly labor with a two-hour minimum, as well as flat rates for most single heavy items. Wrap, blankets, and straps are included on every job. Share details about stairs, narrow entrances, and the setup location to get a quote that reflects the work involved.
Frequently Asked Questions
Yes, power racks almost always need full disassembly for safe moving. A typical cage has four upright posts joined by horizontal and diagonal braces, so carrying it assembled can make tight doorways difficult to navigate. Remove attachments and keep each group of fasteners with its related section. If the rack is anchored, include the anchors in your setup plan. Keep the assembly instructions handy for rebuilding at the destination.
A typical power rack move takes 3–5 hours, including disassembly, transport, reassembly, and verification. The schedule can shift with the rack’s configuration, the carrying route, and access at each address. For example, stairs or a long distance between the vehicle and setup area add handling steps. Keep the destination space clear before the crew arrives, and account for the bench and any accessories in the moving plan.
Power racks almost always need full disassembly for safe moving, so plan for the frame to travel in sections. The cost depends on the rack’s configuration, access, distance, and requested work, such as reassembly and bench handling. Heavy Furniture Moving offers hourly labor with a two-hour minimum, as well as flat rates for most single heavy items. Wrap, blankets, and straps are included on every job. Share details about stairs, narrow entrances, and the setup location to get a quote that reflects the work involved.