How to Move a Functional Trainer in Gainesville Safely
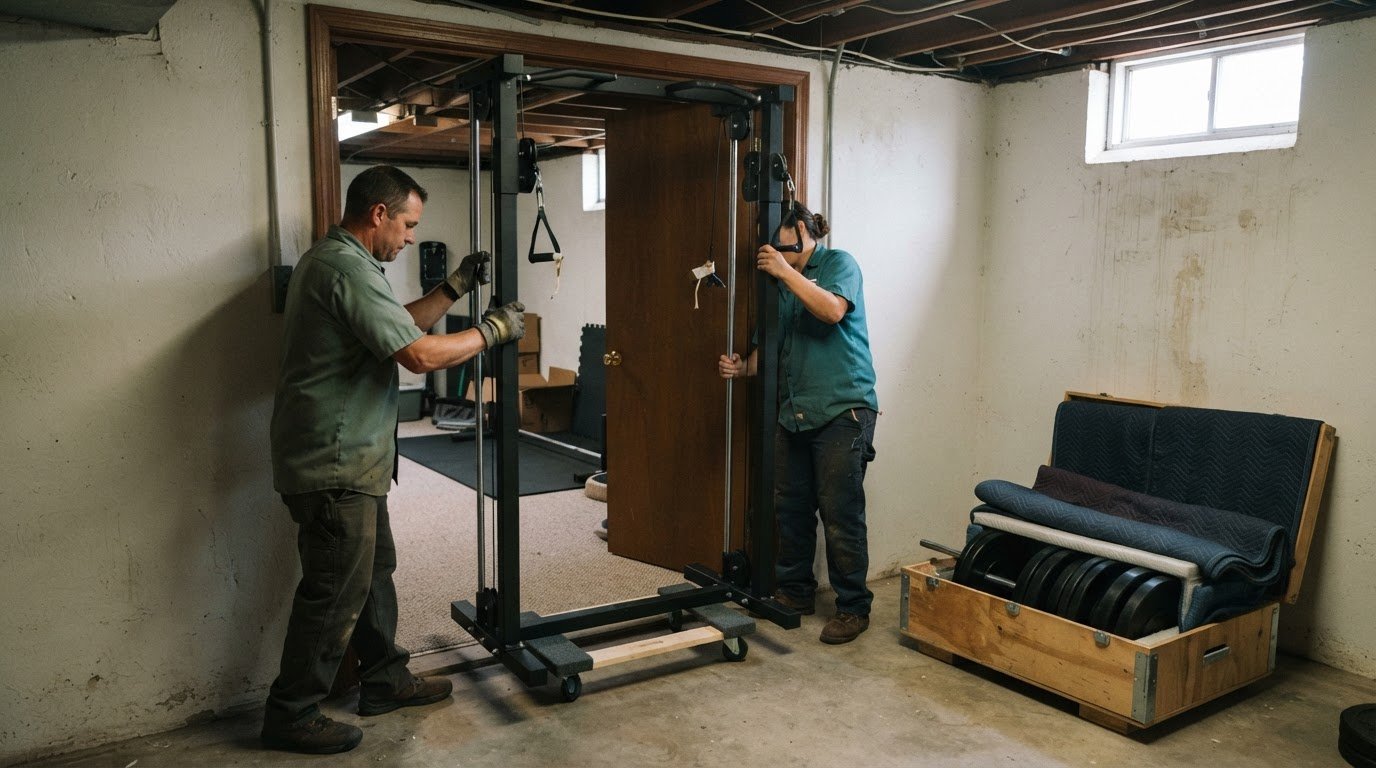
A functional trainer’s pulley alignment is protected before the first bolt comes out: photograph the cable routing and pulley positions, label cable ends, and remove the weight stack for separate transport. If you’re learning how to move a heavy functional trainer in a Gainesville home gym without misaligning its pulleys, use a dolly and moving help for equipment weighing over 100 lbs, then reassemble the frame square before tightening key bolts.
It’s reasonable to worry that a heavy frame, loose cables, or shifting weights could turn a move into a frustrating repair. A careful plan makes the job easier to manage. This guide explains how to prepare the route, choose between a dolly and a team carry, secure the weight stack and exposed pulleys, and reassemble the trainer. You’ll also learn why to check cable routing before using the machine, so it’s ready for a safe return to your workout space.
Key Takeaways
- Measure the machine and the full path, including doorways, stair turns, and vehicle openings, before moving day.
- Keep a visual record of cable routes and pulley positions, then use it to guide reassembly.
- Secure guide rods and weight-stack parts for transport to help prevent damage or a jammed system.
- Rebuild the frame square, leave key bolts slightly loose until alignment is right, and have cable routing checked before use.
- Check the equipment’s dimensions and the space at the destination before choosing how to move each section.
Is it hard to move a home gym?
Moving a functional trainer takes more than carrying a frame: cables, weight stacks, and tight access points all need a plan. Measure first, document each connection, and map the new layout before disassembly.
-
Document the Move and Plan the Layout
Photograph the trainer from every angle before removing parts. Capture cable routing, pulley positions, washer placement, bolt holes, and attachment orientation. Measure the machine, doorways, hallways, stair turns, and vehicle opening. Sketch the destination layout, including where the trainer, dumbbells, and barbell will go. Keep the photos and hardware notes together so every part has a clear place during reassembly.
- Set aside a full day for a standard home gym move, including preparation and setup. Make a written sequence: clear the route, document the machine, separate removable equipment, move frame sections, then rebuild. Mark each hardware bag with its location, such as “left upright” or “top crossmember.” This simple record helps prevent loose bolts and washers from becoming a guessing game.
-
Assess Space, Weight, and Dimensions
Measure the new room before choosing the trainer’s position. A dedicated strength-room setup uses 100-160 square feet and recommends at least 4 ft of open walkway between the rack or machine and dumbbell zone. Compare those clearances with the trainer’s actual footprint, then adjust the layout for the barbell path and access to attachments. Don’t block a doorway or narrow route with dumbbells.
- Check the entire route, not just the room entrance. Record the trainer’s assembled dimensions, then measure the largest frame sections after disassembly. A fully assembled commercial-style power rack can be six to seven feet wide, so a doorway may require a different plan. Protect vulnerable floors with plywood, rubber mats, or dense floor runners. In older homes or apartments, assess the floor before moving large equipment into place.
-
Consider Risks of Moving Without Help
Before moving alone, assess the load, route, and pieces you must control. A home gym with more than 300 pounds of plates is a reason to seriously consider experienced movers. Without help, a frame can shift around a blind corner, damage flooring, or strain the person carrying it. Cables can also be reassembled incorrectly, creating a safety hazard. Don’t attempt a carry you can’t control.
- Choose help based on the equipment and access, not just the distance. A dolly and labor-only help are recommended for power racks, treadmills, and other home gym equipment weighing over 100 lbs. A steep stair turn or narrow hallway can make a team carry more controlled than rolling. If the load feels unstable, stop and change the plan before lifting again.
Reassembling and aligning frames and pulleys
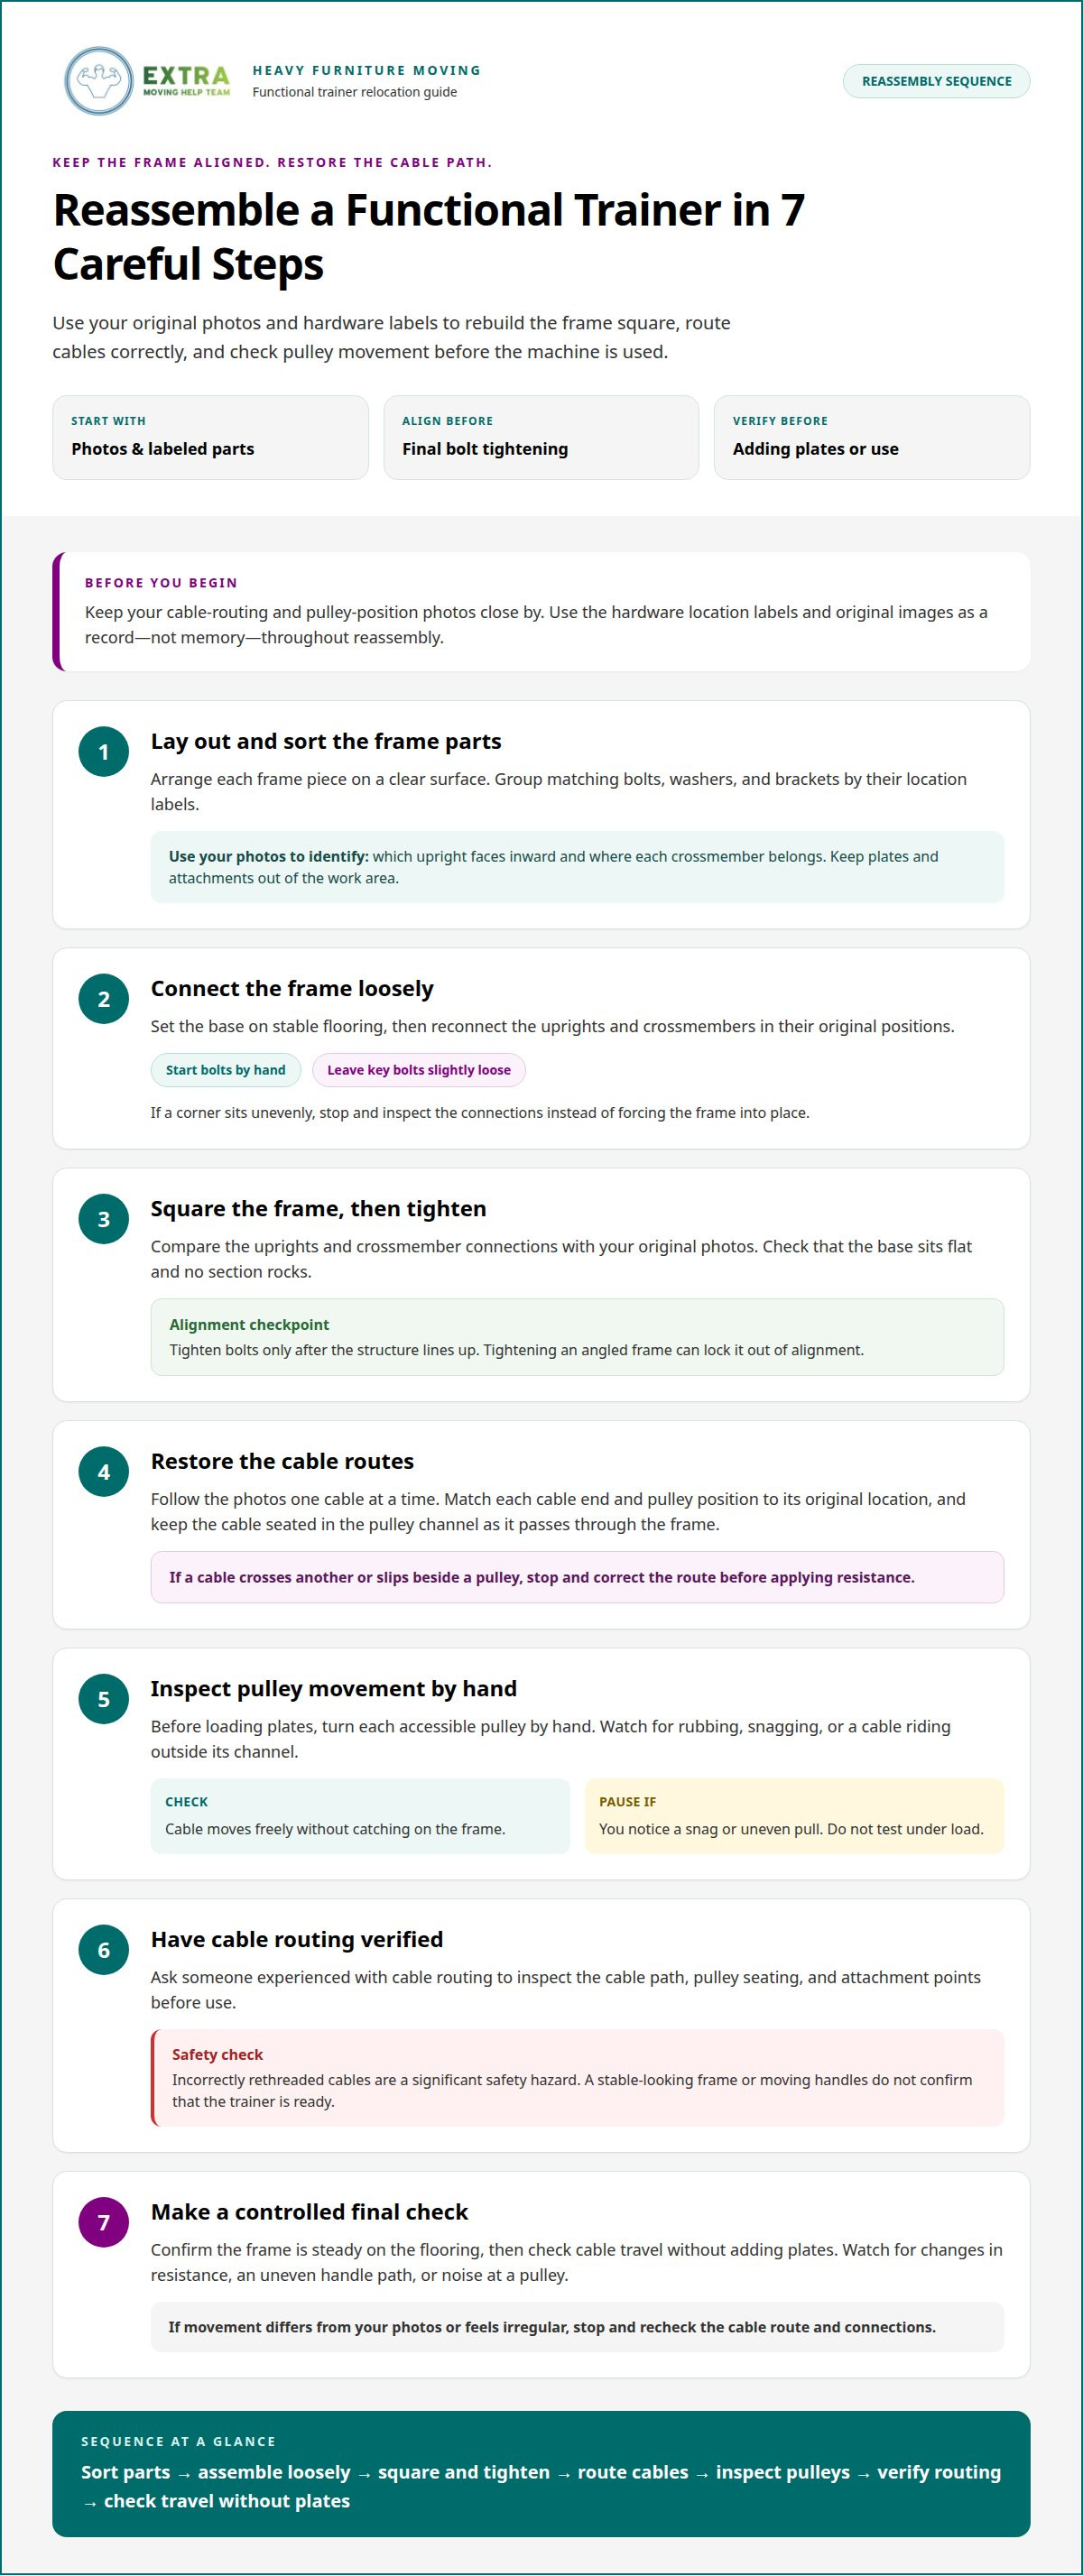
Rebuild the frame square before tightening its bolts, then restore the cables using your photos. A careful sequence helps keep the uprights aligned and pulley movement consistent.
- Lay out each frame piece on a clear surface before assembly. Group matching bolts, washers, and brackets by the location labels you made during disassembly. Use the photos to identify which upright faces inward and where each crossmember belongs. Keep plates and attachments away from the work area so they don’t obstruct alignment or become trip hazards.
- Set the base on stable flooring, then connect the uprights and crossmembers in their original positions. Start each bolt by hand to avoid cross-threading. Leave key bolts slightly loose until the frame is square. If one corner sits unevenly, stop and inspect the connections instead of forcing the frame into place.
- Square the frame before final tightening. Compare the upright positions and crossmember connections with your original photos. Check that the base sits flat and no frame section rocks. Tighten the bolts only after the structure lines up; tightening an angled frame can lock it out of alignment.
- Route each cable by following the photos, one at a time. Match the cable ends and pulley positions to their original locations. Keep each cable seated in its pulley channel as it passes through the frame. If a cable crosses another or slips beside a pulley, stop and correct the route before applying resistance.
- Inspect the pulleys and cable path before loading plates. Turn each accessible pulley by hand and watch for rubbing, snagging, or a cable riding outside its channel. Check that the cable moves freely without catching on the frame. A snag or uneven pull is a reason to pause, not to test the machine under load.
- Have someone experienced with cable routing verify the reassembled machine before use. Incorrectly rethreaded cables are a significant safety hazard, even if the frame looks stable. Ask them to inspect the cable path, pulley seating, and attachment points. Don’t assume the trainer is ready just because its handles move or its frame looks straight.
- Make a controlled final check before returning to normal workouts. Confirm the frame is steady on the flooring, then test cable travel without adding plates. Watch for changes in resistance, an uneven handle path, or noise at a pulley. If movement differs from the photos or feels irregular, stop and recheck the route and connections.
Securing weight stacks and exposed pulleys
Prepare the moving parts before the trainer leaves its room. Keep the weight stack, guide rods, cable ends, and exposed pulleys from shifting or getting mixed up in transit.
- Photograph every pulley position before removing cable tension. Take close-up views from both sides, plus a wider photo showing how each cable runs through the frame. Include the cable ends and their attachment points. These images help you restore the original route without relying on memory.
- Label the machine’s sides and each cable end before disconnecting anything. Use simple, matching labels such as “left side” and “left cable end,” and keep them visible in your photos. This record helps distinguish similar-looking cables and pulleys after transport, especially on trainers with several exercise stations.
- Remove the weight stack from the cable machine and transport it separately. Don’t leave the stack inside the frame while moving the machine. Separate transport reduces shifting against the frame and gives you better access to protect the guide rods. Keep the stack parts together and in order for setup.
- Secure the weight stack and guide rods for the trip. If left loose, they can bend or shift, potentially cracking covers or jamming the system. Keep the rods straight and prevent stack plates from knocking into one another. Even a compact stack is a heavy, rigid load that needs control.
- Protect exposed pulleys from impact and movement. Keep them clear of loose hardware, free weights, and other equipment during loading. Don’t let a cable hang where it can snag on another item. A shifted pulley or caught cable can complicate reassembly and affect how the trainer moves.
- Load free weights separately from small trainer parts. Pack plates in boxes weighing no more than 40 to 50 pounds each, and stack those boxes no more than two high in the moving truck. Keep cable labels, photos, and hardware bags accessible rather than burying them under the load.
- Secure the equipment load in the truck with at least two ratchet straps across it. Position straps to restrain the load without pressing directly on exposed pulleys or cable ends. Before driving, make sure the stack, guide rods, and loose parts can’t slide into the trainer during a turn or stop.
- At the destination, compare the parts with your photos before reconnecting cables. Check the labels, pulley positions, and guide rods first. If a cable end or stack part doesn’t match its original location, pause instead of guessing. Correct placement matters for smooth resistance and safe exercise.
Choosing dollies or team carries
Transport the trainer in stable, manageable sections. Remove the weight stack, protect exposed pulleys, and secure each frame piece so it can’t shift during loading. For Gainesville homeowners, learning how to move a heavy functional trainer home gym without misaligning pulleys starts with choosing the right moving method for each section.
- Choose a dolly for frame sections that sit securely against its support surface. A dolly helps control rolling across a clear, level route. Don’t balance a narrow upright or crossmember loosely on the platform. If the section wobbles, use a team carry instead.
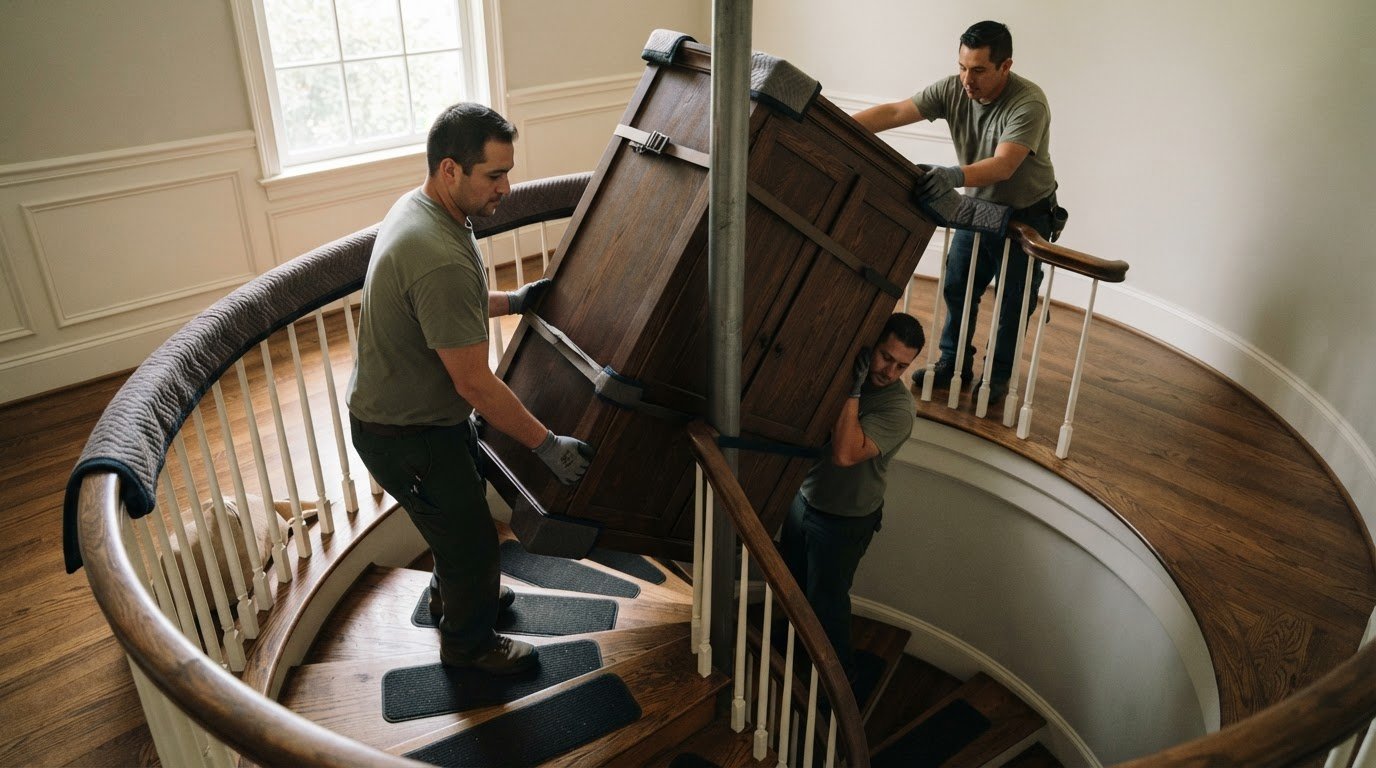
- Use a team carry for awkward shapes, tight turns, or stairs. Before lifting, assign one person to guide the route and call each turn. Keep hands clear of pinch points between the frame and door jambs. Stop if the load tilts or anyone loses a stable grip.
- Choose the method based on the route, not just the machine’s apparent size. A dolly may work well across a level hallway but become difficult at a stair landing. A team can reposition a long crossmember through a turn, provided everyone can hold it without twisting.
- Separate the trainer’s weight stack and loose attachments before moving its frame. Keep cables out of the dolly’s wheel path and away from metal edges. Don’t pull a frame by its cable or handles; doing so can put unwanted tension on the pulley system.
- Protect the equipment and route before loading. Lay down rubber or another floor covering where a dolly could mark the surface. Remove dumbbells, free weights, and storage bins from the path. Clear space at each doorway so the team can pause and adjust its grip.
- Secure each piece in the vehicle so it can’t slide or strike another item. Position the frame against stable support, with padding between metal surfaces. Keep pulleys and cable ends clear of straps and neighboring gym equipment. Don’t stretch cables to reach a tie-down point.
- Move at a slow, coordinated pace during loading and unloading. One person should watch the frame’s clearance while the carriers move. Pause at each threshold to reset hands and footing. If a dolly catches or a frame begins to tip, set it down safely before changing direction.
- Choose experienced moving help if the frame, stairs, or narrow access make control difficult. Get help moving exercise equipment when a team carry needs practiced coordination. If you’re planning how to move a heavy functional trainer home gym without misaligning pulleys in Gainesville, keep every part supported and the pulley system protected.
How much does a functional trainer weigh and what are its dimensions?
- Find the trainer’s model information and record its assembled height, width, depth, and total weight. These details vary by frame design and weight stack, so don’t substitute another machine’s measurements. Use the equipment label or manual to identify the exact model before planning the route.
- Measure the trainer yourself as a second check. Include protruding handles, pulley housings, and attachments that increase its footprint. Record the widest and tallest points, then compare them with doorways, hallways, stair turns, and the vehicle opening. A close fit on paper can still make for a difficult turn in a narrow entry.
- Distinguish the assembled footprint from the dimensions of disassembled parts. Measure each frame section after removal, including long crossmembers that need room to turn. Disassembled power-rack uprights or crossmembers may be six feet long. Even a smaller load can require a clear, straight path.
- Check the frame’s shape as well as its length. Power-rack uprights may measure 3 inches by 3 inches, but a functional trainer’s frame can differ. Measure the actual sections rather than assuming rack dimensions apply. Note brackets, angled supports, and pulley housings that could catch on a doorframe.
- Plan handling around the weight of each section, not just the complete machine’s total. A trainer with its weight stack removed is a different load from the assembled unit. Keep those figures separate in your notes to help decide which parts need a dolly and which require a coordinated team carry.
- Use your measurements to plan the loading order. Place the longest frame parts where they can rest securely without pressing against pulleys or cables. Keep the stack and smaller components separate. Measure the vehicle’s usable interior space, too, so the longest section fits without bending or forcing the frame.
- Check the destination before choosing the trainer’s final position. Compare its footprint with the available floor space and leave room to access handles and attachments. If the machine will sit near a wall, make sure the frame and cable path remain accessible for setup and future adjustment.
- Use accurate dimensions and weight details to plan a controlled move in Gainesville. If the sections are awkward to handle or the route is tight, get help moving exercise equipment. Clear measurements make it easier to plan loading and protect the trainer’s frame and pulley parts.
Heavy Furniture Moving: Movers Near Me
Heavy Furniture Moving provides Exercise Equipment Moving when a functional trainer’s weight, awkward frame, or tight route makes a solo move impractical. Get help if you need to move gym equipment through stairs, narrow hallways, or loading areas while keeping parts organized for reassembly. For related household moves, Movers Near Me and in-home furniture movers can help with bulky items, while Sofa Hoisting addresses difficult furniture access.
Before the move, share the trainer’s dimensions, access route, and whether the weight stack will travel separately. These details help plan the lifting and transport around the equipment and your home layout. Contact Heavy Furniture Moving to discuss your functional trainer move.
Make Your Next Move With Confidence
Set up your next workout space with a clear plan for the equipment and the room around it. If you’re deciding how to move a heavy functional trainer home gym without misaligning pulleys in Gainesville, consider whether the frame, access route, or careful handling calls for extra hands. A well-planned move helps protect your equipment and get your home gym ready for use.
Heavy Furniture Moving can help with the physical demands of an equipment move. Share the details of your trainer and moving route, then choose the support that fits your situation. Contact Heavy Furniture Moving to discuss your move and take the next step toward a ready-to-use workout space.
Frequently Asked Questions
What tools and materials do I need to secure equipment during transit?
Gather a dolly, moving blankets, ratchet straps, labels, and bags for loose hardware. Use floor runners or plywood to protect vulnerable flooring, and keep cable parts separate from free weights. Position straps to hold frame sections without pressing on pulleys or cable ends. For every Heavy Furniture Moving job, wrap, blankets, and straps are included.
How should you disassemble a functional trainer before moving it?
Follow the trainer’s manual and remove accessories before taking apart the frame. Use the correct tool for each fastener, and place hardware in labeled bags as you go. Keep removed parts in sequence on a clear work surface. For example, store one upright’s bolts separately from the crossmember hardware so you can identify their original locations during reassembly.
How do you mark and protect cables and pulley settings during disassembly?
Label each cable end and the machine side where it belongs, using matching tags such as “left cable” and “left side.” Photograph each pulley from different angles so the cable’s entry and exit points are visible. Keep the tags with the photos and cable parts. During loading, shield pulley surfaces from impact and prevent cables from tangling around frame sections.
What equipment and number of movers are needed to move a heavy functional trainer?
Use a dolly and labor-only help for power racks, treadmills, and other home gym equipment weighing over 100 lbs. The team needs enough people to keep each section supported and guide it around the actual route. Assign someone to call turns and watch clearances. Stairs, tight landings, and long frame sections all affect how the carry should be organized.
How do you reassemble and level a functional trainer to prevent pulley misalignment?
Set the base on a firm, even surface, then loosely connect the uprights and crossmembers. Square the frame before tightening key bolts, following the model-specific assembly sequence in the manual. If the base rocks, adjust its position before reconnecting cables. Match cable ends to their labels, and don’t force a bolt or cable into place when the parts don’t align.
How can you check cable routing, pulley alignment, and smooth operation after a move?
Compare the assembled cable paths with your photos and confirm each cable sits in its pulley channel. Move the handles slowly through their travel and watch for rubbing, snags, or uneven resistance. Check that pulleys turn freely and cables stay seated. Have someone experienced with cable routing verify the machine before exercise, especially if any route or attachment differs from the original setup.
How much do gym equipment movers charge in Gainesville, Virginia?
The price depends on the move and is given after a quote request. Key factors include the trainer’s size, the number of sections to carry, stairs, access turns, and whether loading or unloading help is needed. Share the Gainesville, Virginia pickup and destination details along with the equipment dimensions. Those specifics help shape a quote around the actual handling and route.
Which fitness equipment moving companies serve Gainesville, Virginia?
Heavy Furniture Moving serves Gainesville, Virginia, with Exercise Equipment Moving for heavy and bulky fitness equipment. The company also offers Movers Near Me for residential moving support. When describing the job, include the trainer’s dimensions, removable sections, and any stairs or narrow turns. These details help clarify the handling needed for a move in the Gainesville area.
Frequently Asked Questions
Gather a dolly, moving blankets, ratchet straps, labels, and bags for loose hardware. Use floor runners or plywood to protect vulnerable flooring, and keep cable parts separate from free weights. Position straps to hold frame sections without pressing on pulleys or cable ends. For every Heavy Furniture Moving job, wrap, blankets, and straps are included.
Follow the trainer’s manual and remove accessories before taking apart the frame. Use the correct tool for each fastener, and place hardware in labeled bags as you go. Keep removed parts in sequence on a clear work surface. For example, store one upright’s bolts separately from the crossmember hardware so you can identify their original locations during reassembly.
Label each cable end and the machine side where it belongs, using matching tags such as “left cable” and “left side.” Photograph each pulley from different angles so the cable’s entry and exit points are visible. Keep the tags with the photos and cable parts. During loading, shield pulley surfaces from impact and prevent cables from tangling around frame sections.
Use a dolly and labor-only help for power racks, treadmills, and other home gym equipment weighing over 100 lbs. The team needs enough people to keep each section supported and guide it around the actual route. Assign someone to call turns and watch clearances. Stairs, tight landings, and long frame sections all affect how the carry should be organized.
Set the base on a firm, even surface, then loosely connect the uprights and crossmembers. Square the frame before tightening key bolts, following the model-specific assembly sequence in the manual. If the base rocks, adjust its position before reconnecting cables. Match cable ends to their labels, and don’t force a bolt or cable into place when the parts don’t align.
Compare the assembled cable paths with your photos and confirm each cable sits in its pulley channel. Move the handles slowly through their travel and watch for rubbing, snags, or uneven resistance. Check that pulleys turn freely and cables stay seated. Have someone experienced with cable routing verify the machine before exercise, especially if any route or attachment differs from the original setup.
The price depends on the move and is given after a quote request. Key factors include the trainer’s size, the number of sections to carry, stairs, access turns, and whether loading or unloading help is needed. Share the Gainesville, Virginia pickup and destination details along with the equipment dimensions. Those specifics help shape a quote around the actual handling and route.
Heavy Furniture Moving serves Gainesville, Virginia, with Exercise Equipment Moving for heavy and bulky fitness equipment. The company also offers Movers Near Me for residential moving support. When describing the job, include the trainer’s dimensions, removable sections, and any stairs or narrow turns. These details help clarify the handling needed for a move in the Gainesville area.