Examples of Moving Heavy Drum Booth Panels into Reston Basements
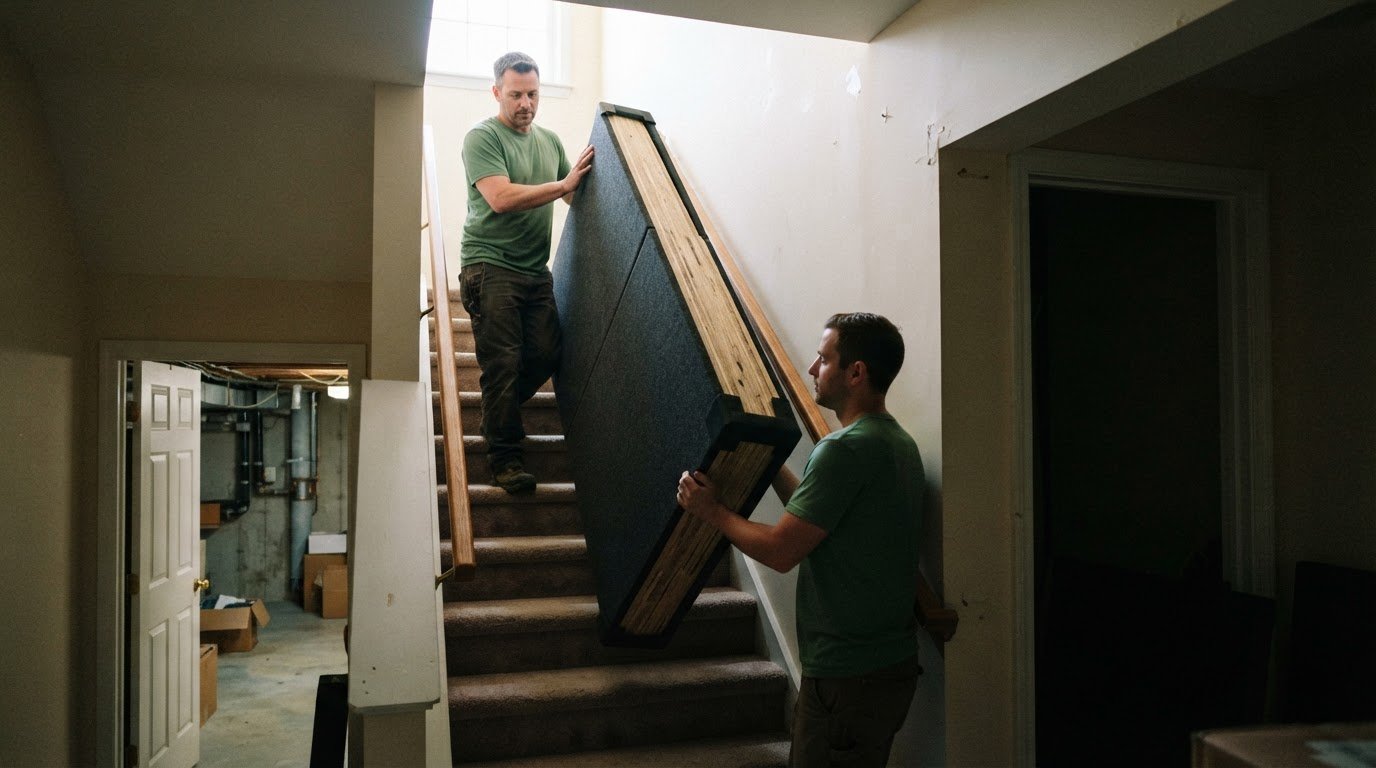
Moving heavy soundproof drum booth panels into a basement in Reston takes more than muscle. Panel weight and size vary with the booth design and soundblocking layers, while basement stairs, tight turns, doorways, and renovation work all affect the moving plan. Before the panels reach the room, account for the full build and the route.
The route and finished basement matter as much as the panels themselves. This guide covers how added wall, ceiling, and floor layers can affect renovation planning, along with practical Reston basement scenarios. Measuring access points, documenting the panel setup, and planning around completed or ongoing renovations can help prevent a difficult move from becoming a larger project.
Key Takeaways
- Panel weight and dimensions depend on the booth build and soundblocking layers, so identify the setup before planning the move.
- Measure the full basement route, including stair clearance, doorways, landings, and turns, to spot tight points early.
- Choose moving equipment based on the panels’ size, weight, and route, and plan how the load will be controlled on stairs.
- Label panels and their connections as you disassemble them, then protect exposed surfaces and edges for transport.
- Plan for both personal safety and property protection; heavy panels can strain movers and damage walls or booth parts if the route is rushed.
How much do heavy soundproof drum booth panels weigh and what are their dimensions?
There is no standard weight or size for every drum booth panel. The load depends on the panel’s core, frame, finish, and attached soundblocking layers. Separate modular sections also create different handling needs than a room built from layered walls. For a Reston basement move, check the exact model’s documentation or weigh each removable panel. Do not estimate its weight from appearance alone.
Separate the booth panels from the basement’s permanent soundproofing. One example wall assembly uses two drywall layers outside, two more inside, and pink fiberglass insulation between them. A ceiling example combines 5/8-inch OSB with two drywall layers. Another assembly uses four drywall layers inside its soffits. These are examples of renovation layers, not standard booth-panel specifications. Their added material can affect room access and renovation planning, but it doesn’t reveal a booth panel’s individual weight.
Example: layered walls beside a modular booth
Situation: A Reston homeowner has a modular booth and layered walls. The booth panels and room construction are separate parts of the load. Action: Record the model, count the removable sections, and note each panel’s height, width, thickness, and documented weight. Result: The plan accounts for each piece instead of treating the booth as one object.
Example: a low ceiling and finished soffits
Situation: A basement booth must pass beneath a finished ceiling with soffits. Four drywall layers inside the soffits describe one example assembly, not a panel dimension. Action: Measure each panel in its transport position, including protruding frames or fittings, and compare its profile with the available route. Result: The crew can identify whether a panel needs a different orientation before carrying it downstairs.
Create a simple panel record before moving day. Tie each measurement to a panel label, and note whether hardware remains attached. A bare panel and one with brackets, trim, or connected sections may need different handling. Record the full outside dimensions, not just the visible sound-absorbing face. This matters when basement doors, landings, or turns limit how a piece can be angled.
Example: ceiling layers mistaken for booth-panel weight
Situation: A homeowner sees 5/8-inch OSB and two drywall layers in the ceiling and assumes the booth panels share that construction. Action: Keep the ceiling assembly record separate from the booth’s product details. Confirm panel dimensions and weight from its own documentation, then list removable pieces individually. Result: The moving plan reflects the actual booth rather than an assumption based on the renovation.
Use the panel measurements to plan the route and handling. Heavy Furniture Moving provides heavy lifting help for bulky or difficult-to-control items. A clear panel inventory also helps organize the move.
How do you measure basement stairs, doorways, and turns before moving large panels?
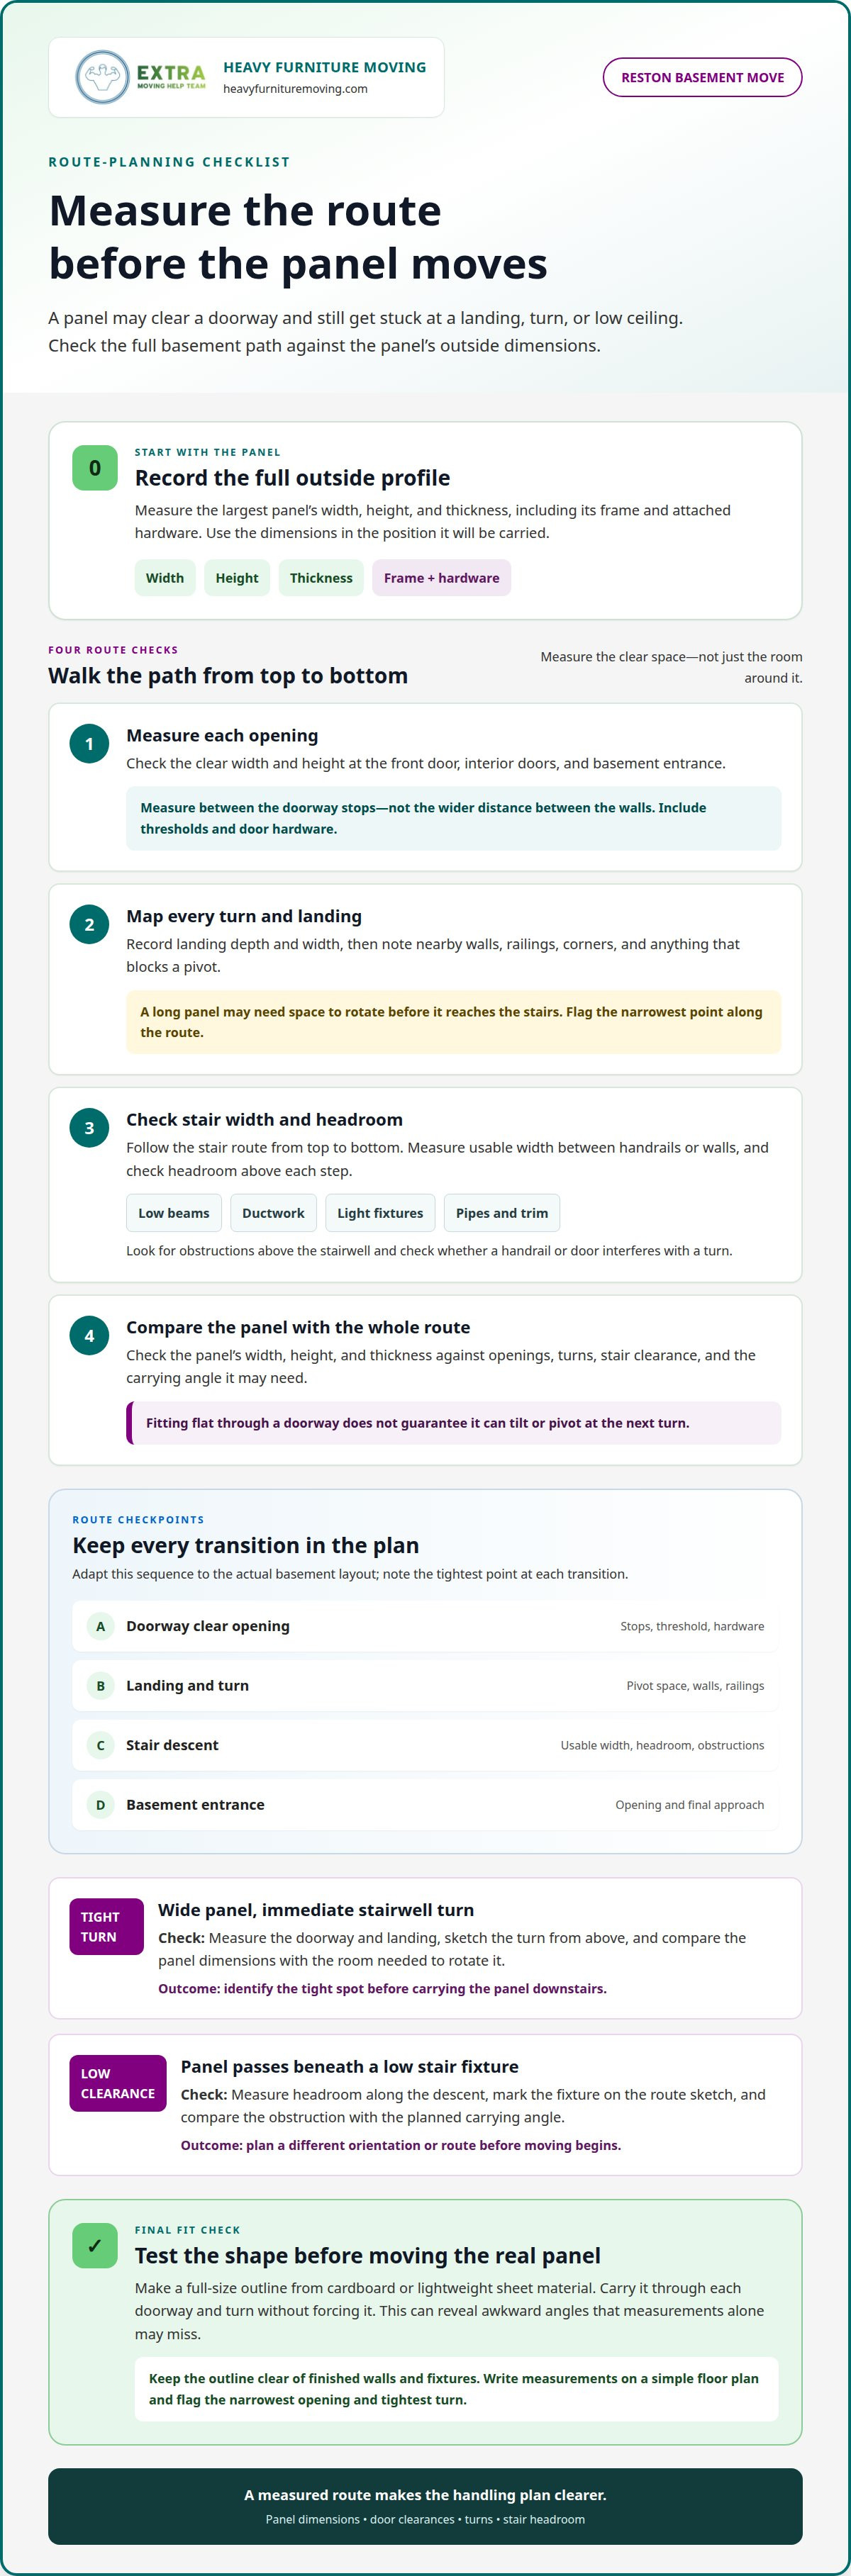
Start with the largest panel’s full outside dimensions, including its frame and attached hardware. Measure the doorway’s clear opening between the stops, not the wider distance between the walls. Record the narrowest point along the route. A basement doorway may look roomy until a thick panel meets the jamb at an angle.
Measure the stair route from top to bottom. Check the usable width between handrails or walls, the headroom above each step, and the space at each landing. Look for low beams, light fixtures, pipes, and trim that reduce clearance. Note whether a handrail or door blocks a turn. These details can matter as much as stair width.
- Measure each opening. Record the clear width and height at the front door, interior doors, and basement entrance. Include thresholds and door hardware.
- Map every turn. Measure the landing depth and width, then note nearby walls, railings, and corners. A long panel may need to pivot before reaching the stairs.
- Check stair clearance. Track the headroom from the first step to the basement floor. Look above the stairwell for beams or ductwork.
- Compare the route with the panel. Consider the panel’s width, height, and thickness as it would be carried. A panel that fits flat through a doorway may need to tilt at a turn.
Situation: A wide booth panel reaches a Reston basement doorway, but the stairwell turns immediately beyond it. Action: Measure the landing and doorway, sketch the turn from above, and compare the panel dimensions with the space needed to rotate it. Result: The route plan identifies the tight spot before the panel is carried downstairs.
Situation: A panel clears the top doorway but passes beneath a low ceiling fixture on the stairs. Action: Measure headroom along the descent, mark the fixture on the route sketch, and check the panel’s planned carrying angle against the obstruction. Result: The crew can plan a different orientation or route before moving begins.
For a hands-on check, make a full-size outline from cardboard or lightweight sheet material. Carry it through each doorway and turn without forcing it. This can reveal awkward angles that measurements alone miss. Keep the outline clear of finished walls and fixtures during the test.
Write measurements beside a simple floor plan, and flag the narrowest opening and tightest turn. If the panels are bulky or the stair route calls for coordinated lifting, help with heavy lifting can make the handling plan more manageable.
What equipment is best for moving heavy acoustic panels down basement stairs?
The right equipment depends on each panel’s size, weight, grip points, and stair route. Start with the panel record and basement measurements. A flat furniture dolly can move a panel across a level room, but it is not designed for carrying loads on stairs. For stairs, use a controlled lifting plan and equipment suited to the load and route.
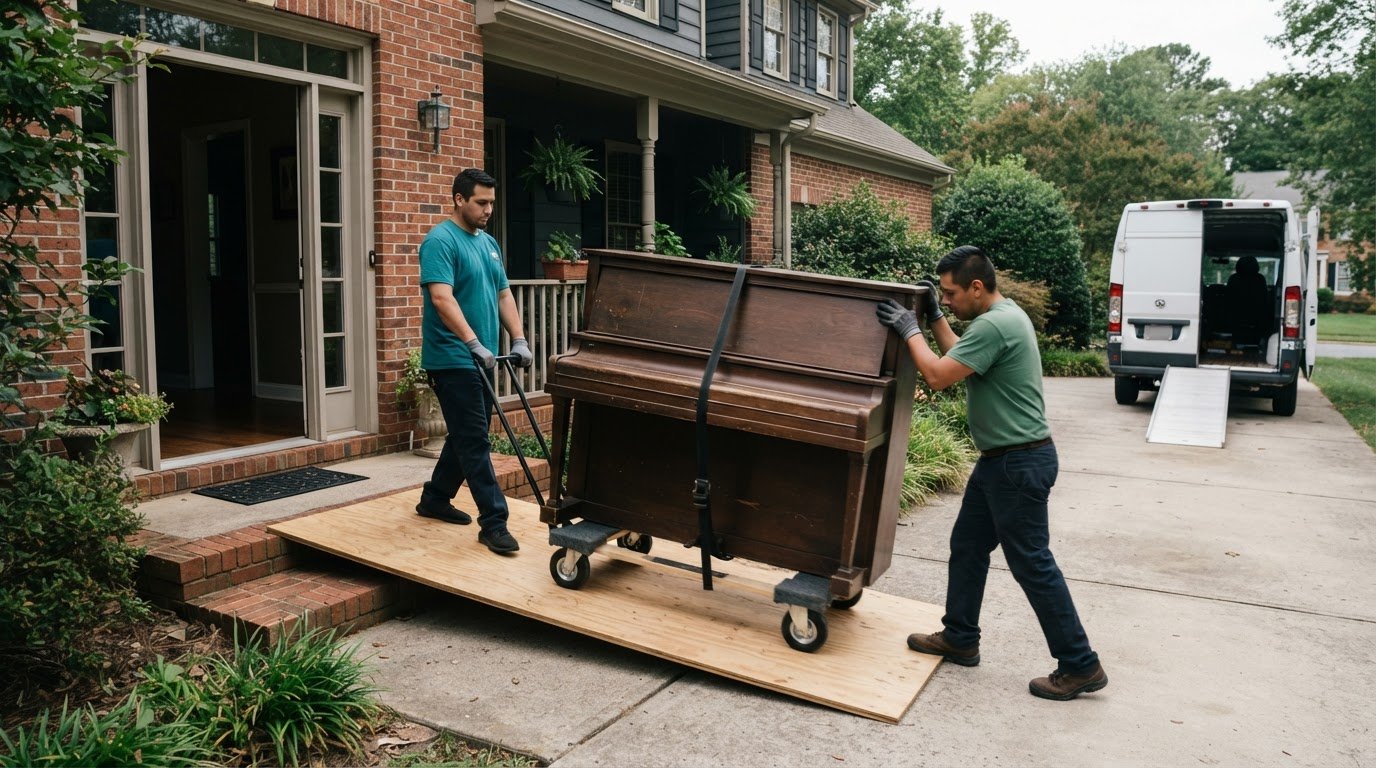
Situation: A broad booth panel must cross a hallway before reaching the basement stairs. Action: Use a padded panel cart or suitable furniture dolly on the level stretch. Secure the panel against sliding and protect its edges from door trim. Result: The level approach is handled with rolling equipment, while the stair descent remains a separate task.
Use a stair-climbing hand truck only if its design suits the panel and stairway. Check the equipment’s load rating against the panel’s documented weight, and make sure the panel can be held securely without crushing its frame or soundblocking layers. Do not improvise with a standard dolly on stairs. If the panel is unusually wide, flexible, or difficult to grip, a coordinated carry may provide better control than a wheeled device.
- Moving straps: Use straps suited to the object and the handlers. Position them to support the panel without loading fragile edges or attached fittings.
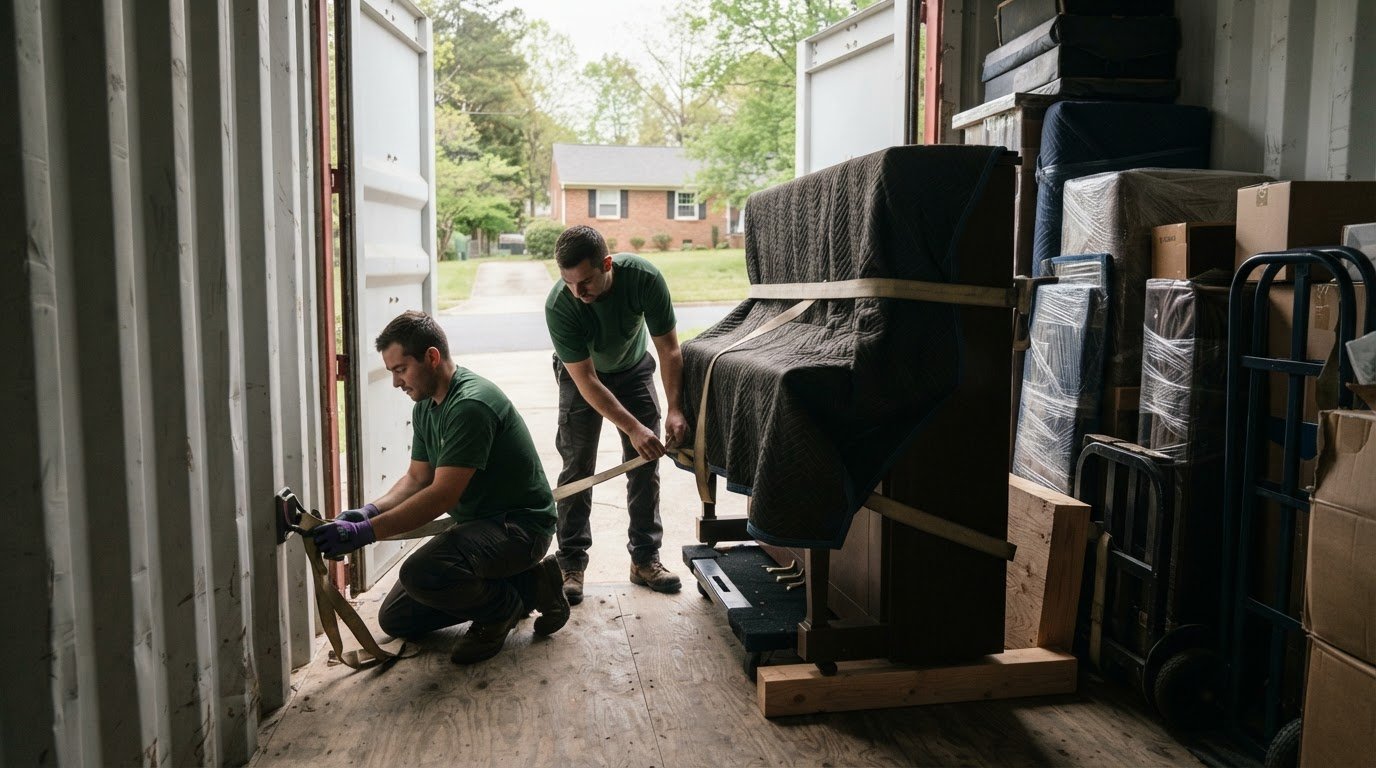
- Protective blankets: Wrap exposed faces and corners before handling. Keep the wrapping secure so it doesn’t bunch beneath a handhold.
- Grip gloves: Choose gloves that allow a firm grasp. Test the hold before lifting, especially where a smooth panel has few natural handholds.
- Floor and wall protection: Use appropriate coverings along the route. Keep stairs clear of loose materials that could shift beneath someone’s footing.
Situation: A framed panel has a smooth face and few grip points. Action: Protect the face with a moving blanket, then position straps to support the frame. Before moving, agree on commands for lifting, pausing, and setting the panel down. Result: The team has defined handholds and a shared way to control each transition.
Situation: A stair-climbing dolly is available, but the landing turns sharply. Action: Check the device’s rating, panel fit, and turning room before loading. If the dolly cannot pivot without hitting a wall, switch to a planned hand carry or revise the route. Result: Equipment choice reflects the basement layout, not convenience alone.
Keep tools, straps, blankets, and floor coverings organized at the stair entrance. Move one panel at a time, and stop if the load shifts or anyone loses a secure grip. A brief pause makes the next handling decision more deliberate.
How should drum booth panels be disassembled, labeled, and protected for transport
Start with the booth maker’s assembly instructions, not guesswork. Modular drum booths can have different fasteners, panel joints, and connection points. Photograph each wall, corner, and ceiling connection before disassembly. The images provide a reassembly reference and show which panel meets each adjoining section.
Situation: A booth has several matching wall panels and looks easy to take apart. Action: Identify each panel’s position before loosening fasteners. Mark it with a removable label, such as “left wall, near door,” and photograph the label in place. Result: Similar-looking pieces remain tied to their original positions.
- Clear the work area. Move drums, stands, cables, and loose items away from the booth. Keep a clear path for each panel as it comes free.
- Document connections. Photograph brackets, seams, and fastener locations. Make a simple sketch showing panel order and which face points inward.
- Remove parts in sequence. Follow the booth maker’s instructions. Support a panel before releasing its final connection, and don’t force stuck joints.
- Keep hardware together. Put fasteners and small fittings in labeled bags. Attach each bag to its matching panel or record its location on the sketch.
- Protect each piece. Cover faces with moving blankets or another clean padding material. Add corner protection where edges could scrape or chip.
Keep labels visible after wrapping. Put them on a removable tag or on the padding, rather than applying adhesive directly to a finished panel. Mark orientation with simple notes such as “inside” and “top.” This prevents confusion when padded pieces look alike during transport.
Situation: A booth panel has a soundblocking layer beneath its finish. Action: Avoid drilling, cutting, or peeling that layer during preparation. Use padding that protects the surface without pressing hard against exposed seams. Result: The panel reaches the basement with its construction intact.
Situation: A corner joint resists removal, and its fastener is partly hidden. Action: Stop and consult the assembly instructions and photographs. Locate the connection before applying more force. Result: The joint is handled deliberately instead of being bent or torn from the frame.
Stack wrapped panels securely so they do not rub against hardware. Keep loose brackets away from finished faces, and position fragile trim so it does not bear weight. Before carrying anything downstairs, compare the labels with the assembly sketch. This final check links the protected parts to a clear reassembly plan.
What are the risks of moving heavy panels down stairs, including injury and wall or panel damage
A heavy booth panel can shift suddenly on stairs, especially when its surface offers few handholds. The person below may bear more weight, while the person above has limited room to adjust. Twisting to clear a wall can strain the back, shoulders, or wrists. A dropped edge can chip the panel, scrape a stair tread, or damage finished drywall.
Situation: Two people carry a broad panel toward a basement turn. Action: They pause before the turn, agree who leads, and choose a clear stop command. One watches the lower edge while the other checks the upper edge against the wall. Result: Both handlers can respond together if the panel shifts or needs repositioning.
Unclear footing creates another risk. Loose blankets, tools, cables, and packaging can become trip hazards along the route. A stair tread may also feel slick beneath protective floor covering. Clear the path before lifting, secure coverings flat, and keep doors safely open or held out of the way. Do not carry a panel while stepping around stored items.
- For handlers: Stop if grip, balance, or visibility becomes poor. Set the panel down only at a stable landing or clear floor area.
- For walls and trim: Pad exposed corners and door frames. Watch the panel’s top and bottom edges during each pivot.
- For booth parts: Keep pressure on the frame rather than a fragile face, seam, or soundblocking layer. Avoid dragging panels across steps.
- For the route: Keep bystanders and pets away from the stairs while a panel is moving.
Situation: A wrapped panel begins leaning toward a finished wall on a narrow landing. Action: The handlers stop, regain a stable hold, and reposition only once the landing is clear. They do not use the wall to catch or steer the load. Result: The panel’s corners and the wall finish avoid direct contact.
Situation: A panel’s padding slips during the descent. Action: The team pauses at a safe stopping point and secures the covering before continuing. They do not keep moving while the grip is uncertain. Result: The surface stays protected, and handlers avoid a sudden correction on the stairs.
Before starting, assign roles, clear the route, and agree on stop commands. If a panel is too awkward to control safely, get help moving heavy panels through the stair route.
After the panels are safely at the destination, their intended position can matter too. A forum participant described a garage wall shared with a neighbor's garage as a 4.5-inch single-block wall. Acoustic blankets are recommended to be installed about 3-4 inches away from the reflective wall surface, so plan their placement once the load is stable rather than trying to adjust them while carrying panels on stairs.
A ten-decibel reduction in sound escaping from a drum room is described as essentially equivalent to turning the volume down by half. Keep that acoustic goal separate from stair handling: protect handlers and surfaces first, then position the materials without rushing or balancing a panel in an unsafe place.
Heavy Furniture Moving: Movers Near Me
Heavy Furniture Moving provides residential moving help for large, awkward items. If your booth panels are difficult to carry through a Reston basement stairway, professional lifting help can reduce the burden on your household and keep the route organized. Share the panel dimensions, access details, and tight turns when describing the job. This gives the team useful context for planning the handling approach.
This service is a good fit when panels are too cumbersome for a solo carry or when you need help with other household moving tasks. If you are moving the panels yourself, the measuring, labeling, and protection steps above can still help you prepare.
Contact Heavy Furniture Moving or visit heavyfurnituremoving.com to discuss your move.
Set up the next move with a clear plan
Before moving heavy soundproof drum booth panels into a Reston basement, turn your measurements and panel notes into a practical handoff. Keep the panel labels, route sketch, and photos together. Share them when arranging help, especially if basement access has changed or renovation work is still underway. A clear description helps the team prepare for the same route and handling needs.
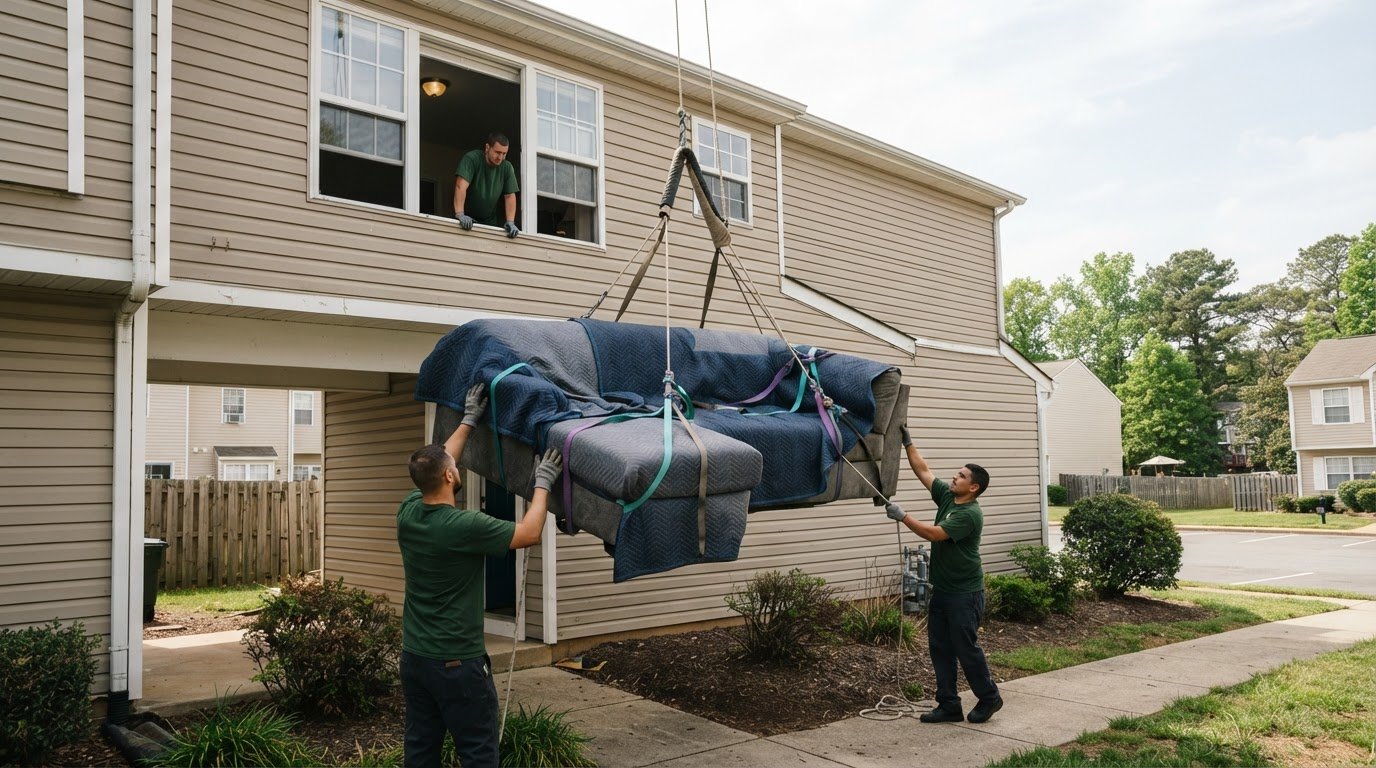
Heavy Furniture Moving provides residential moving help for household moves. If your basement project is part of a wider move, the company also offers Exercise Equipment Moving and Sofa Hoisting. Choose the service that fits the items and access challenges, and keep your preparation notes handy.
Contact Heavy Furniture Moving for help with your move. Take the next step with a plan that’s ready for the basement route, and make room for the music ahead.
Frequently Asked Questions
How many people or professional movers are needed to move heavy soundproof booth panels?
There is no fixed crew size for every booth-panel move. For moving heavy soundproof drum booth panels into a basement in Reston, the panel’s weight, dimensions, grip points, and stair layout all affect how the load can be controlled. Share whether the panels are already disassembled when arranging help. Heavy Furniture Moving measures before lifting and plans around the item and access. Do not apply crew counts for other items to booth panels.
What do movers in Reston, Virginia charge to move heavy panels into a basement?
The price depends on the panel load, handling needs, and basement access. Main cost factors include panel weight and size, disassembly needs, stair and landing conditions, and the work required at each end. Heavy Furniture Moving charges hourly labor with a two-hour minimum and offers flat rates for most single heavy items. The job details determine the pricing format.
Reston, VA, moving companies experienced with heavy equipment or basement stair carries can help ensure a safe transport.
Heavy Furniture Moving provides residential moving help for heavy, bulky household items, including in Reston. For moving heavy soundproof drum booth panels into a basement in Reston, describe the panels and basement route when arranging service so the job can be planned as a specific heavy-lifting move. Wrap, moving blankets, and straps are included on every job. The service also covers Exercise Equipment Moving.
Frequently Asked Questions
There is no fixed crew size for every booth-panel move. For moving heavy soundproof drum booth panels into a basement in Reston, the panel’s weight, dimensions, grip points, and stair layout all affect how the load can be controlled. Share whether the panels are already disassembled when arranging help. Heavy Furniture Moving measures before lifting and plans around the item and access. Do not apply crew counts for other items to booth panels.
The price depends on the panel load, handling needs, and basement access. Main cost factors include panel weight and size, disassembly needs, stair and landing conditions, and the work required at each end. Heavy Furniture Moving charges hourly labor with a two-hour minimum and offers flat rates for most single heavy items. The job details determine the pricing format. Reston, VA, moving companies experienced with heavy equipment or basement stair carries Heavy Furniture Moving provides residential moving help for heavy, bulky household items, including in Reston. For moving heavy soundproof drum booth panels into a basement in Reston, describe the panels and basement route when arranging service so the job can be planned as a specific heavy-lifting move. Wrap, moving blankets, and straps are included on every job. The service also covers Exercise Equipment Moving.