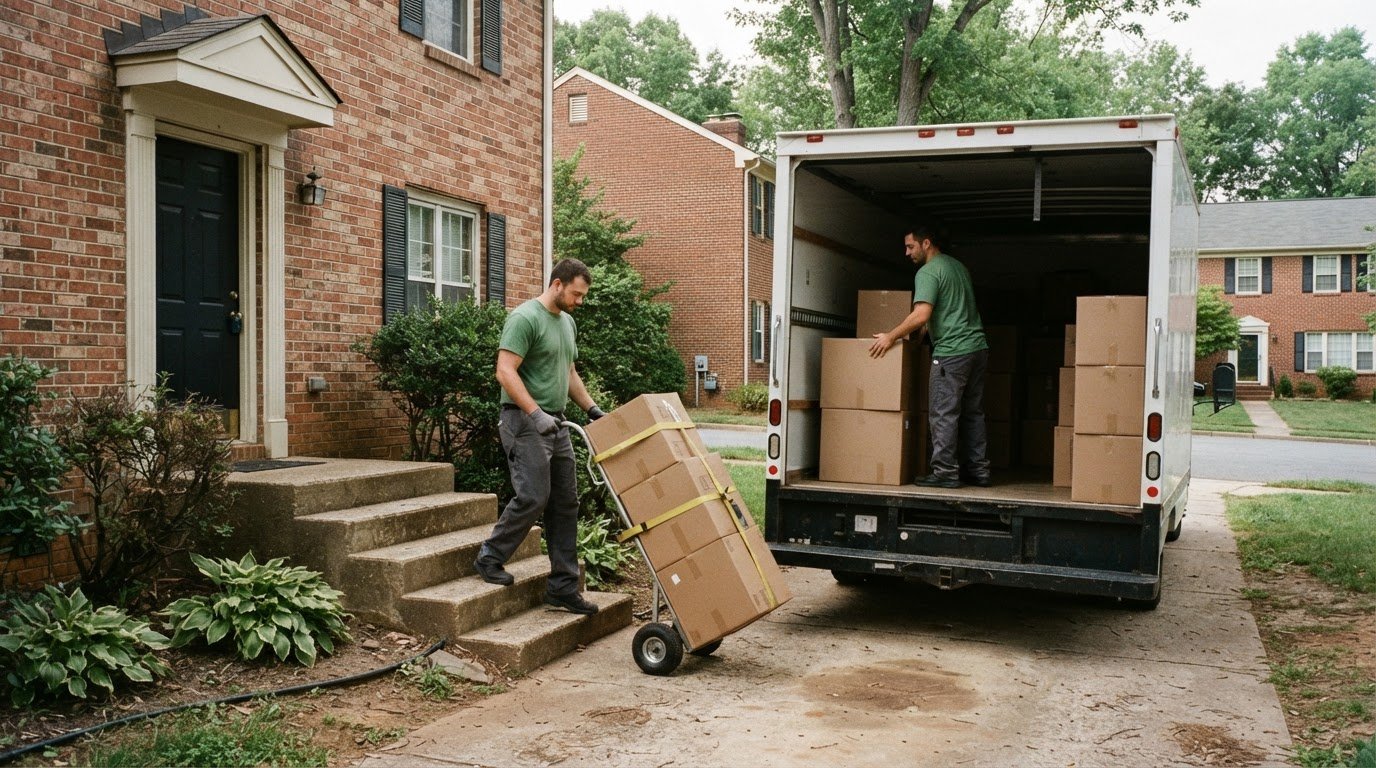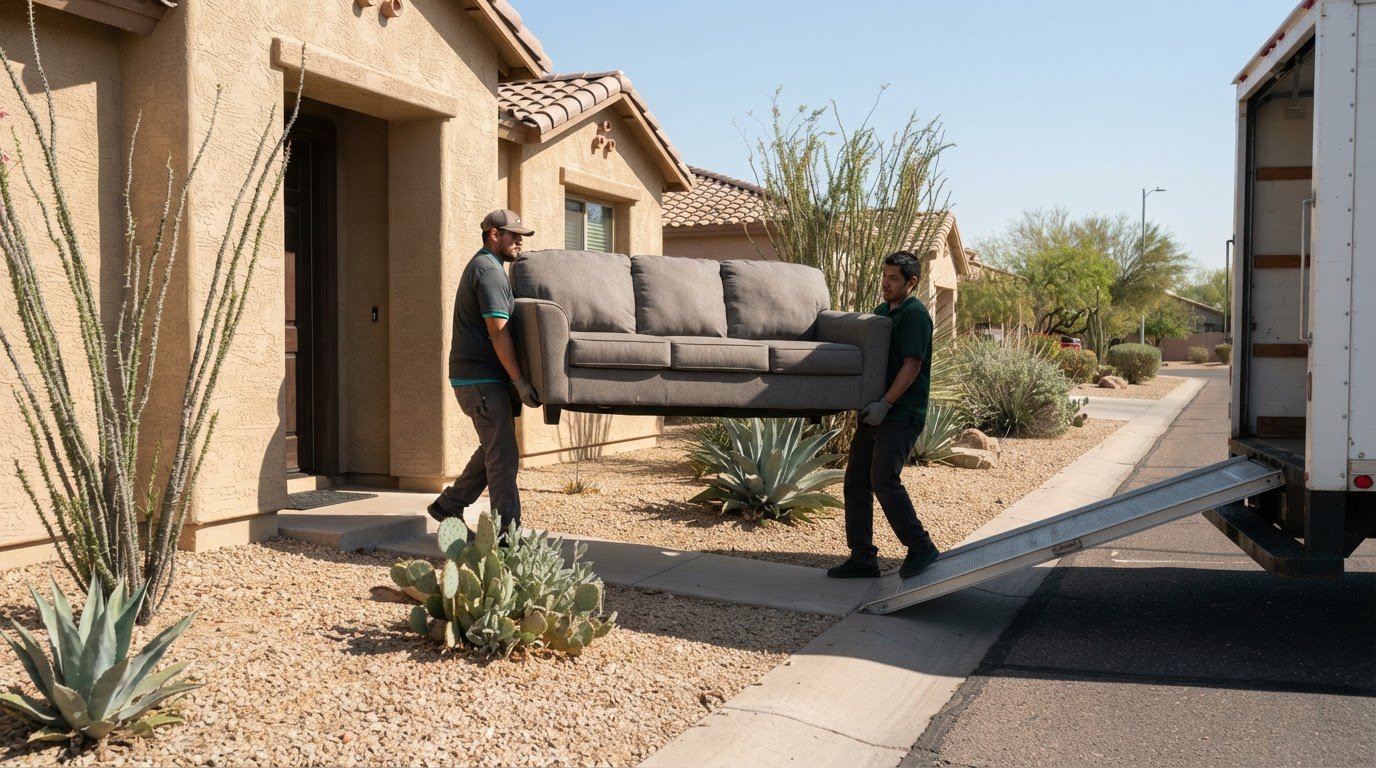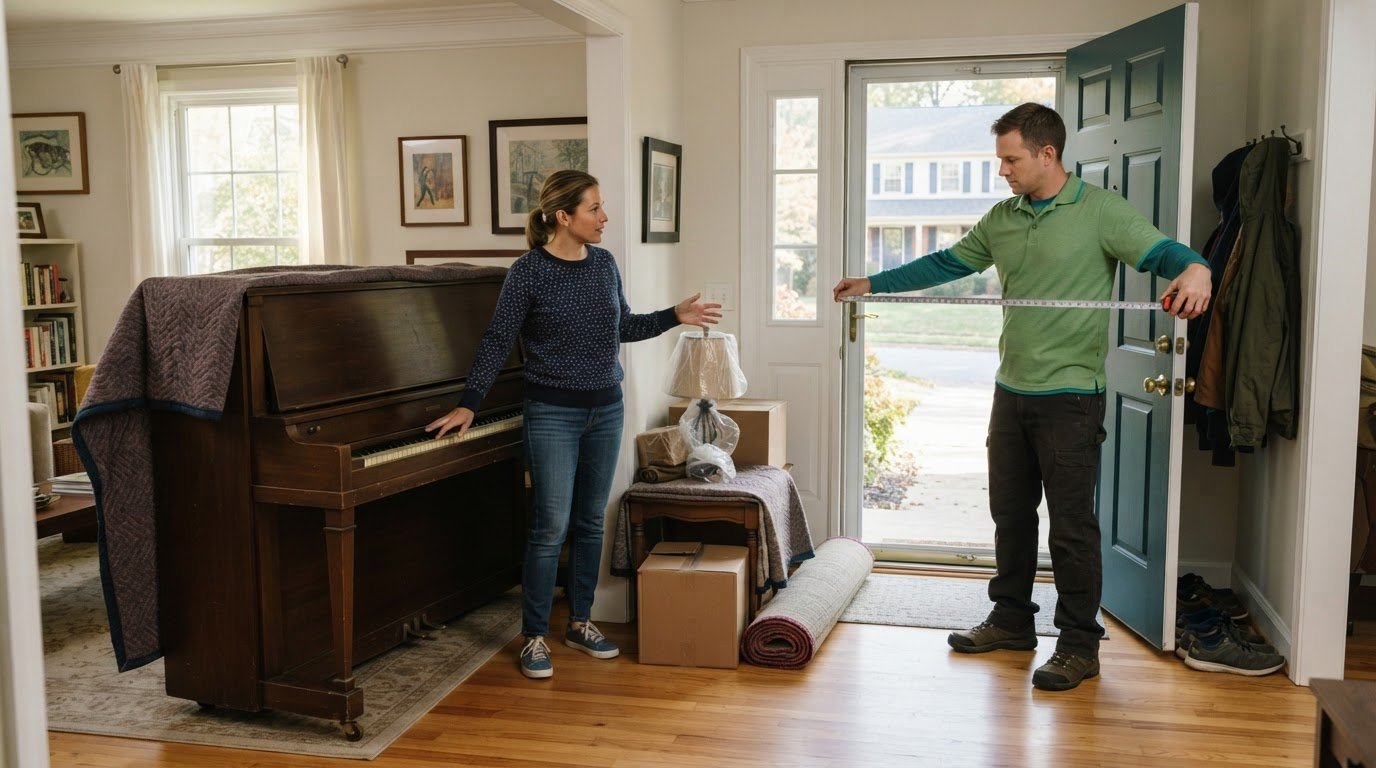
How to Move a Heavy Upright Freezer Through Bilco Doors in Vienna
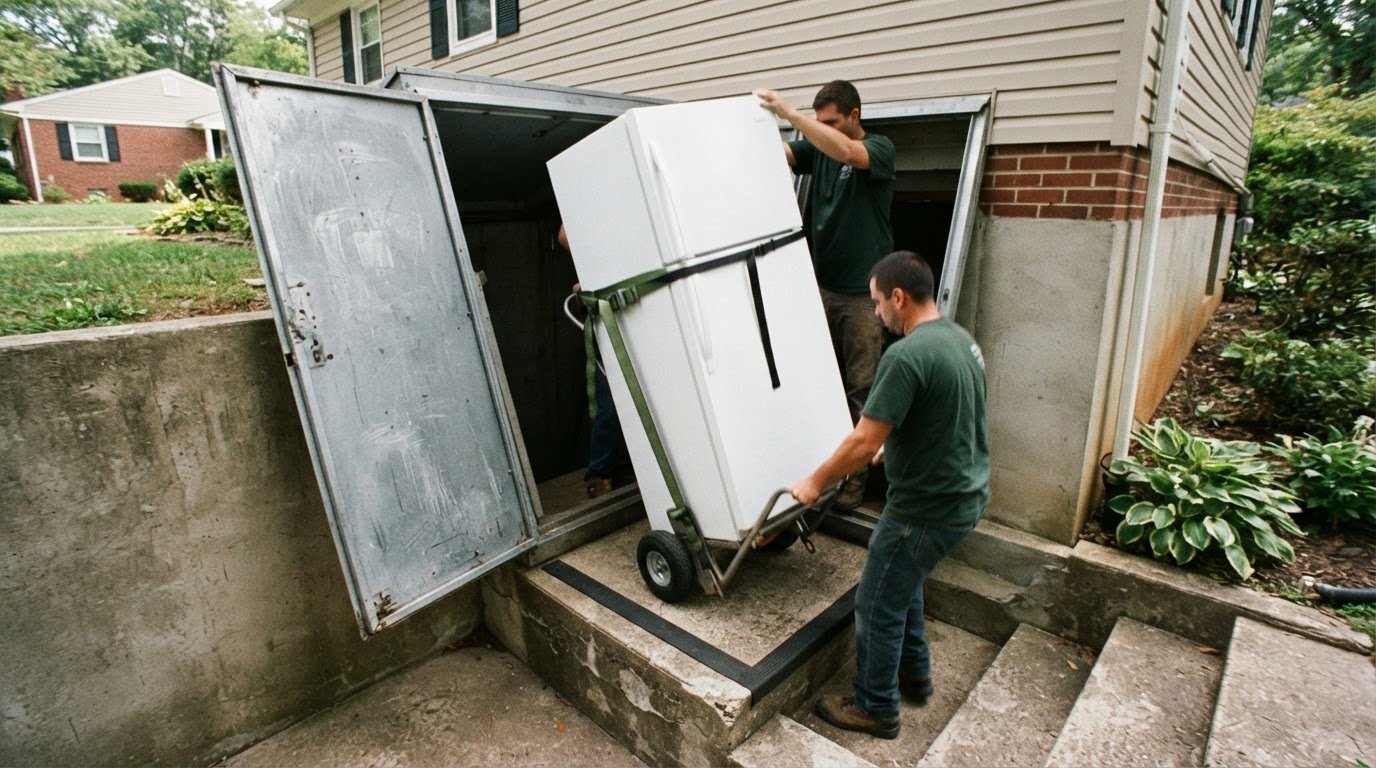
Keep the freezer upright if possible, secure its door so it can’t swing open, and measure the freezer and Bilco-door route before moving it. For moving a heavy upright freezer out of a basement through Bilco doors in Vienna, plan the route and use suitable equipment and enough help to control the load.
A bulky freezer can make a narrow basement exit challenging, especially when stairs and tight clearances are involved. Careful preparation helps protect the appliance, the doorway, and the people handling it.
This guide explains how to empty and prepare the freezer, measure the route, secure the appliance, and load it for the move. You’ll also learn what to consider if it can’t stay upright, so you can plan before the heavy lifting starts.
Key Takeaways
- Start defrosting well before moving day; two days is the recommended period for preparing a freezer.
- Plan the route from the basement to the exit, accounting for tight turns and the space needed to maneuver.
- Use a low, flat, four-wheel dolly for a chest freezer, and secure the appliance before moving it.
- If the freezer must travel on its side, plan for settling time before reconnecting it to power.
Protecting and securing the freezer during transport
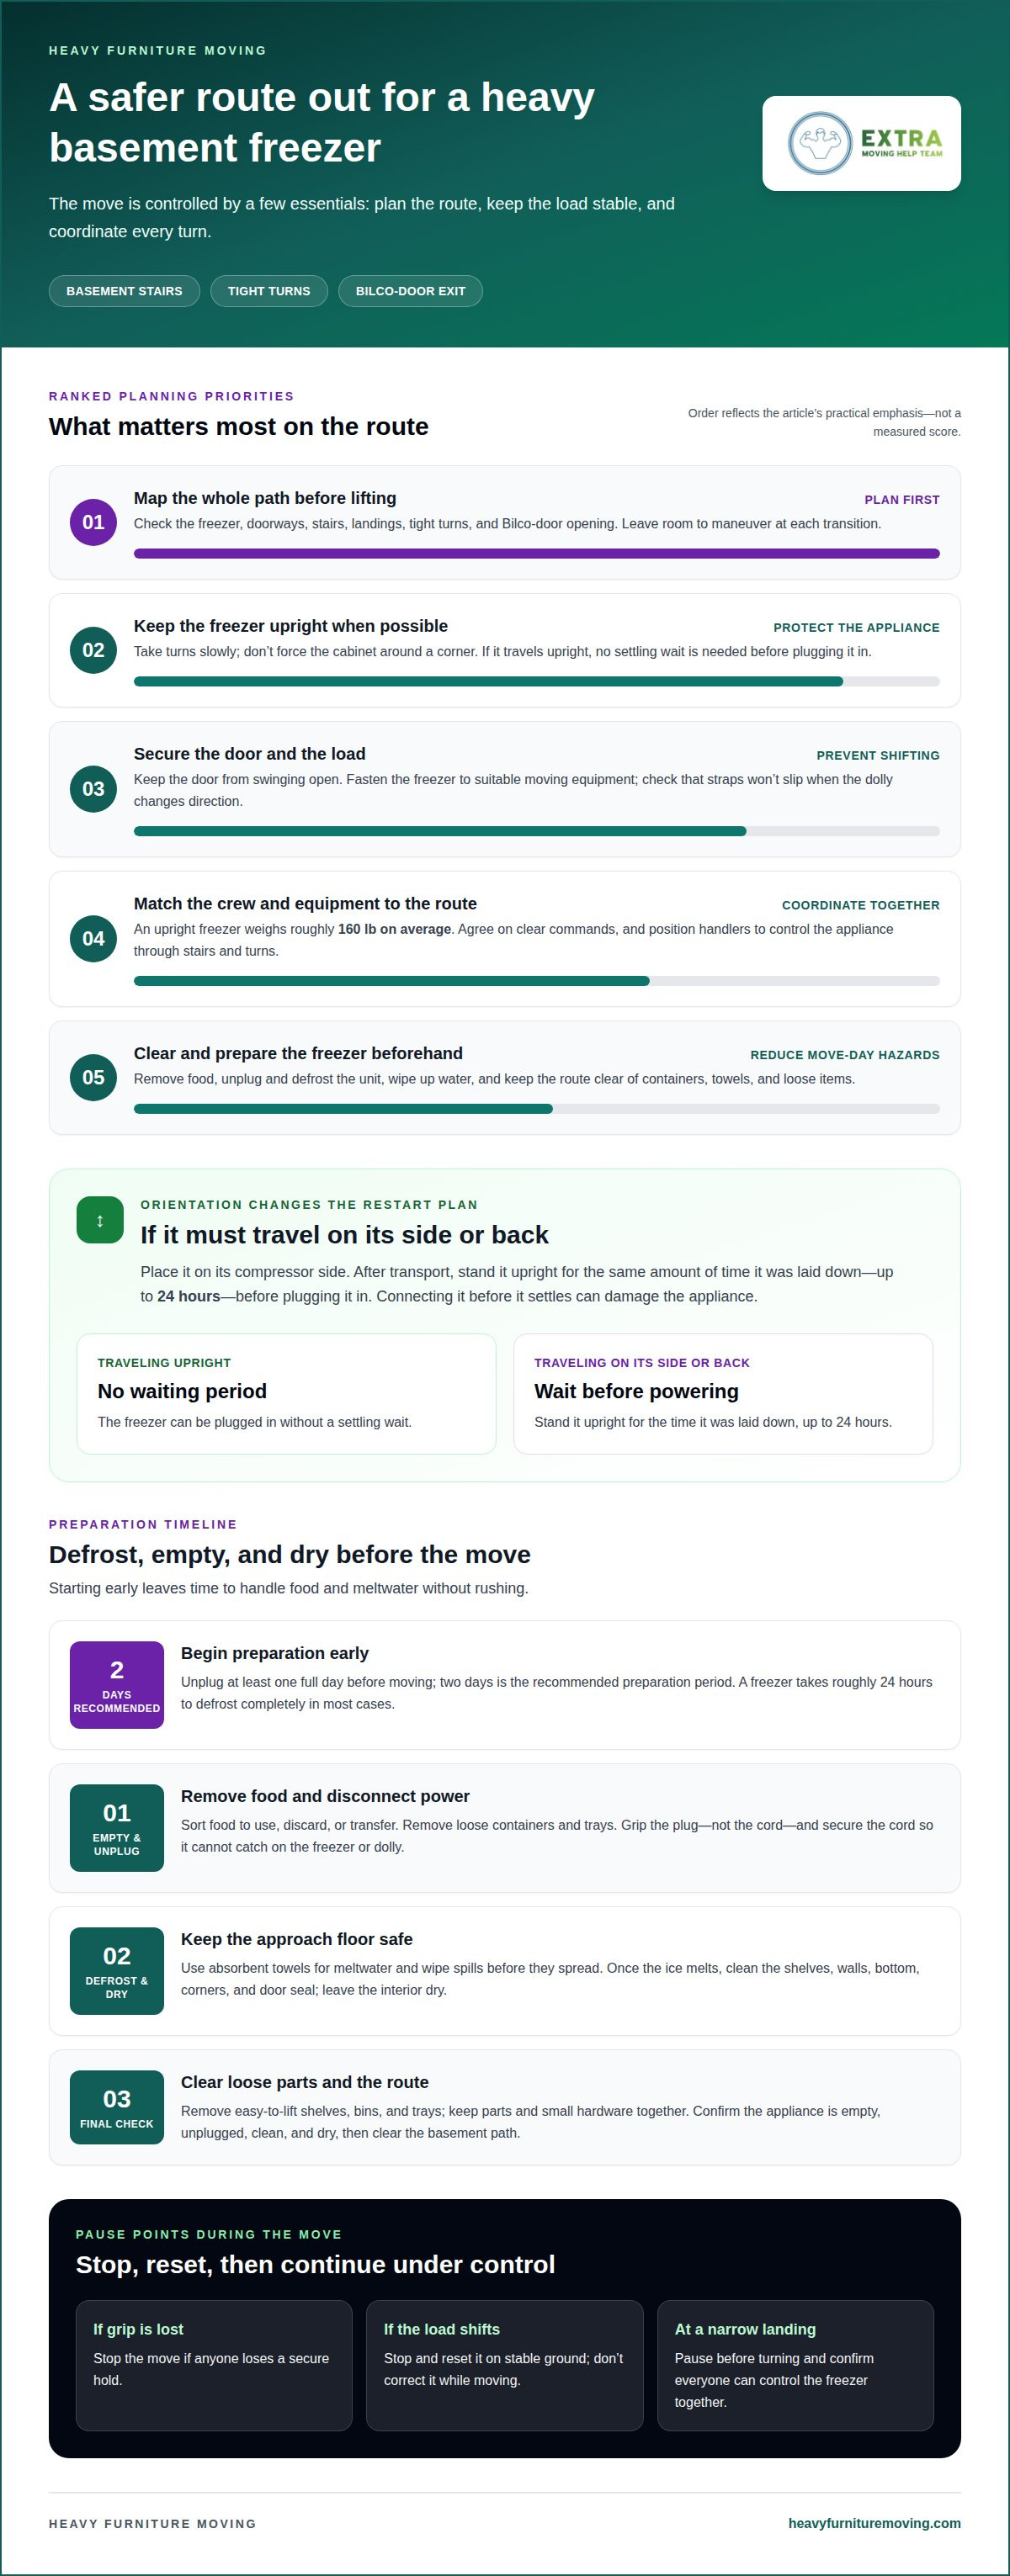
When moving a heavy upright freezer out of a basement through Bilco doors in Vienna, plan how it will travel before lifting begins. Keep it upright whenever the route allows, and secure it against shifting.
-
Assess Tipping and Drop Risks
Plan each turn, stair transition, and Bilco-door passage before moving the appliance. Tipping an upright freezer or letting it strike a stair, wall, or doorframe can damage its cabinet or internal parts. Keep the load controlled, and stop if anyone loses a secure grip.
For an appliance move in Vienna or Fairfax County, plan for property access and a clear path. Bilco doors alone don’t determine whether special arrangements are needed, so account for any access restrictions specific to the building.
-
Load and Secure the Freezer
Close the freezer door and secure it so it can’t swing open during transport. Fasten the unit to suitable moving equipment, keeping restraints firm without pressing hard on the door or other vulnerable areas. Before rolling, check that the freezer is stable and the straps won’t slip when the dolly changes direction.
For a chest freezer, use a low, flat furniture dolly with four wheels. Run straps or rope underneath the dolly and over the freezer to secure the load. Check the door and restraints before crossing a threshold. If the appliance shifts, stop and reset it on stable ground rather than trying to correct it while moving.
Keep hands clear of pinch points as the dolly crosses thresholds. At a narrow landing, pause before turning and make sure everyone can control the freezer’s position together.
-
Keep the Freezer Upright
Keep a GE upright freezer vertical through the basement and Bilco-door route whenever possible. If it travels upright, it doesn’t require a waiting period before plugging it in. Take turns slowly, and don’t force the freezer around a corner if its cabinet or dolly catches.
If the freezer can’t travel upright, place it on its compressor side. After transport on its side or back, stand it upright for the same amount of time it was laid down, up to 24 hours, before plugging it in. Plugging it in before it settles can damage the appliance.
Before moving a heavy upright freezer out of a basement through Bilco doors in Vienna, decide how it will be oriented during loading. That helps the crew plan how to control the appliance at stairs, turns, and the exit.
Preparing and emptying the freezer
- Plan the defrost before moving day. Unplug the freezer at least one full day before moving it; two days is the recommended period to allow preparation. In most cases, a freezer takes roughly 24 hours to defrost completely. Starting earlier gives you time to handle food and water without rushing the removal.
- Remove all food before defrosting. Sort it into food to use, discard, or transfer to another freezer. Take out containers, ice trays, and loose packages. A partly full freezer adds shifting contents to an already heavy load, and forgotten food can spill as the appliance moves through the basement.
- Disconnect the power cord from the wall outlet before relocating the freezer. Unplug it by gripping the plug, not pulling the cord, then secure the cord where it won’t catch on the appliance or dolly. Keep the outlet area clear so the freezer is fully disconnected before anyone starts moving it.
- Allow the freezer time to defrost, and watch for water as the ice melts. Place absorbent towels nearby and wipe up water before it spreads across the basement floor. A dry approach area gives handlers a safer, clearer path to the stairs and Bilco doors.
- Clean the empty interior after the ice has melted. Wipe the shelves, walls, and bottom of the freezer, then remove residue that could leak or smell during transport. Check corners and the door seal for remaining water. Leave the interior dry so moisture doesn’t drip onto the basement route.
- Remove loose shelves, bins, and trays if they come out easily. Pack the parts together and label them for the freezer, keeping small pieces such as shelf hardware in one container. This prevents items from rattling or sliding inside the cabinet as it crosses thresholds.
- Inspect the outside before moving. Look for a loose handle, damaged cord, or parts that could snag on a doorway. Note existing marks so they aren’t mistaken for move-related damage. Secure the cord against the cabinet without stretching or pinching it, and keep the door closed during the move.
- Finish with a clear handoff of the prepared appliance. Confirm the food is removed, the freezer is unplugged, defrost water is wiped up, and the interior is clean and dry. Keep the basement route free of towels, packaging, and food containers. That leaves the crew room to position moving equipment safely.
Getting help to move a freezer
Basement stairs and Bilco doors call for a coordinated plan, not improvised lifting. Match the people and equipment to the freezer, stairway, and route.
-
Arrange Moving Help
Arrange help before moving day, and describe the full route from the basement to the vehicle. Include stair turns, landings, narrow spots, and the Bilco-door opening. Someone who only sees the freezer at the top of the stairs may not be prepared to guide its next turn.
Agree on clear commands before lifting begins. One person should direct each movement with words such as “stop,” “lower,” or “turn,” so everyone responds together. Don’t have helpers pull in different directions or step onto a stair before the load is under control.
-
Determine Equipment and Crew Needs
Choose the crew and equipment around the freezer’s weight, shape, and stair route. An upright freezer weighs roughly 160 lbs on average, so its actual load can be substantial. For basement stairs, position handlers to control the appliance and guide its movement; the stair width, landing space, and turning room determine where help is needed.
Use an appliance dolly or other moving equipment that supports the freezer and can be controlled along the route. Straps help secure the unit to the equipment, while clear communication lets handlers adjust together. Don’t treat a single weight figure as a lifting plan: appliance size and stair geometry also affect how the load moves.
- Walk the route with the helpers before touching the freezer. Identify where the lead person will pause, where the load must turn, and where each helper can stand without blocking anyone else. A landing, for example, may require a controlled stop before the freezer changes direction. Keep the stairs clear of loose items that could affect footing.
- Choose one person to call each movement, and make sure everyone can hear. Agree on commands before the freezer leaves its starting position. “Stop” should mean everyone stops, not that one helper keeps pulling while another adjusts. Clear signals reduce sudden shifts at stair edges and tight Bilco-door transitions.
- Pause whenever the equipment, grip, or route needs adjustment. Set the freezer down in a controlled position before changing a strap or moving a helper. Don’t ask anyone to catch a slipping appliance by hand. Once the dolly is stable and the team is in position, resume using the agreed commands.
Allow enough time to coordinate the crew and vehicle, and leave room in the schedule for pauses or adjustments. Confirm that everyone knows the meeting point, the route, and who will direct the move before the freezer is shifted. If conditions differ from the walk-through, stop and revise the plan rather than trying to recover time by moving faster.
Prepare the destination before the freezer leaves the basement to avoid unnecessary handling. Keep communication open, and make sure helpers can call for a pause if they lose a secure grip or need to reposition. After the freezer is in place, check that the route and equipment are clear. A calm pace and shared plan help the crew stay coordinated from the first lift through placement.
Loading a freezer onto a dolly
Choose equipment suited to the freezer’s shape, then load it in a controlled sequence. Consider the route and the helpers’ positions before shifting the appliance.
- Match the dolly to the freezer before positioning it. A chest freezer needs a low, flat furniture dolly with four wheels. An upright freezer needs equipment that supports its tall shape and lets handlers control it without forcing it to lean. Check that the dolly rolls smoothly and sits steadily on the basement floor.
- First, clear loose obstacles from the loading area, the route to the stairs, and the space where handlers will stand. Set the dolly close enough for a controlled transfer, but don’t block the path with equipment or stored items. A clear approach gives everyone room to work together.
- Position the dolly against the side or edge intended for loading. Keep the freezer balanced as the dolly is brought into contact, using coordinated movement rather than a sudden shove. One person should direct the action while the others support and steady the appliance. Stop if the dolly shifts or the freezer begins to tilt unexpectedly.
- Transfer the freezer onto the platform gradually. Keep hands away from the contact point between the dolly and cabinet, where fingers can be pinched. Guide the base onto the dolly rather than letting one corner take the full load. Check that the freezer sits centered and stable before releasing support.
- Secure the freezer once it is seated. Fasten the appliance to the dolly so it can’t slide as the wheels cross a threshold or the crew changes direction. For a chest freezer, run straps or rope underneath the dolly and over the freezer. Keep the restraint firm and clear of the door.
- Test the loaded dolly before approaching the basement stairs. Roll it a short distance on level ground, then stop and check for movement, tilting, or loose restraints. If the freezer shifts, reposition it while the dolly is on a stable surface. Don’t use the stairs to test an unstable load.
- Move toward the exit at a controlled pace. Keep the freezer upright where possible, and pause at thresholds or turns to check the dolly’s position. For example, stop before a narrow basement landing so the team can adjust its footing and direction together. Continue only when the route ahead is clear.
A furniture dolly for a chest freezer is a low, flat platform with four wheels. Keep its surface aligned with the freezer’s base during the transfer, and don’t twist the appliance to make it fit. If the platform isn’t positioned securely, stop and adjust it before continuing. Agree on a clear signal for starting and stopping so the helpers can move in unison.
Once the freezer is in place, keep supporting it until its position and restraints have been checked. Watch the route as the dolly begins to roll, and pause whenever the load or the team’s footing needs attention. A deliberate transfer helps keep the freezer controlled from the first lift through the move toward the stairs.
Measuring doorways and passageways
Measure the freezer, dolly, basement stairs, and Bilco-door route before moving. An upright freezer weighs roughly 160 lbs on average; dimensions vary by model, so measure the actual appliance.
-
Check Freezer Weight and Dimensions
Record the freezer’s height, width, and depth, including parts that stick out, such as handles. Measure the appliance in its planned travel position, then compare those measurements with the dolly’s footprint. The average weight of roughly 160 lbs is a planning reference, not a substitute for the unit’s own label or handling instructions.
- Measure each opening at its narrowest usable point. Check the basement doorway, stairwell, landings, and Bilco doors, allowing for trim, rails, handles, and other projections. A doorway’s stated width may overestimate usable space if a handrail or frame reduces clearance where the freezer must pass.
- Measure vertical clearance as well as width. Account for low ceilings, stair undersides, pipes, and the Bilco-door frame. Check the freezer and dolly together in the planned orientation for each section of the route. A unit that clears a doorway upright may still hit an obstruction while turning onto a landing.
-
Plan for Narrow Bilco Door Openings
Identify the tightest opening before starting. If the Bilco doors or stairs seem too narrow, compare the freezer’s measured dimensions with the route’s actual clearances. A moving crew can assess whether changing the angle or orientation will create enough clearance, or whether another route is more suitable.
- Don’t force the freezer through a tight spot. A corner, frame, or stair rail can catch the cabinet and compromise control of the load. If turning it changes the space needed, measure that turning path too. Keep handlers positioned to guide the appliance, and stop if it binds or begins to tilt.
- Walk the route in order, from the basement starting point through the Bilco doors. Note each turn, threshold, and landing where the dolly needs room to pivot. Check that the doors can stay open during passage and that the outside landing has space to receive and guide the load.
- Share your measurements and route notes when arranging help moving a heavy freezer. Include the freezer’s dimensions, the narrowest doorway, stair layout, and Bilco-door clearance. Those details help the moving team plan equipment placement and decide where controlled pauses or turns are needed.
Heavy Furniture Moving
Heavy Furniture Moving can help when the freezer, basement stairs, or Bilco-door route makes the move difficult to manage alone. Its heavy lifting moving service is a practical next step for handling a bulky appliance, coordinating the lift, and working through tight access points. Share the freezer’s size and the route details, including narrow turns or landings, so the move can be planned around the space. If you need help with the physical work rather than handling the freezer yourself, contact Heavy Furniture Moving to discuss your move.
Make the Next Move With a Clear Plan
Turn your measurements and route notes into a practical plan for moving a heavy upright freezer out of a basement through Bilco doors in Vienna. Decide whether you’ll handle the lift yourself or want help with the heavy work, then share the details that shape the job: the freezer, basement access, stairs, and tight turns. A clear picture of the route helps organize the move.
Heavy Furniture Moving offers heavy lifting moving service for bulky items, along with Movers Near Me, Exercise Equipment Moving, and Sofa Hoisting. If the freezer’s size or basement access makes the move hard to manage alone, get help with the lifting.
Contact Heavy Furniture Moving to discuss your freezer move. Take the next step with a plan that fits your space and the work ahead.
Frequently Asked Questions
Which local movers handle heavy appliances and basement stair or Bilco door removals in Vienna, VA?
Heavy Furniture Moving provides local moving help and heavy lifting moving service for Vienna-area freezer moves. Local coverage includes Vienna, Fairfax, Woodbridge, Manassas, Manassas Park, Aldie, Ashburn, McLean, Reston, Centreville, Chantilly, Clifton, Dumfries, South Riding, Fairfax Station, Haymarket, and Gainesville. Wrap, blankets, and straps are included on every job. Share the freezer’s dimensions, basement stair layout, Bilco opening, and tight turns so the move can be planned around the route.
How can you measure Bilco doors, basement stairs, landings, and turns to check freezer clearance?
Measure the freezer’s full width, height, and depth, including handles and hinges, then measure each part of the route at its narrowest point. Record the Bilco opening’s clear width and height, stair width, landing depth, and overhead obstacles. A turn may need more room than a straight passage, so note where the freezer must pivot and compare the clearance with the appliance positioned on the dolly. Share the measurements and photos with the moving team.
How should a freezer be emptied, defrosted, secured, and prepared before movers arrive?
Remove food and loose interior pieces, disconnect the power, and leave time for defrosting. Unplug the freezer at least one full day before moving; two days is recommended, and most freezers take roughly 24 hours to defrost. Catch meltwater and dry the interior. Keep removable parts together, and secure the power cord so it won’t snag. Tell the movers if the freezer is still icy or wet when they arrive.